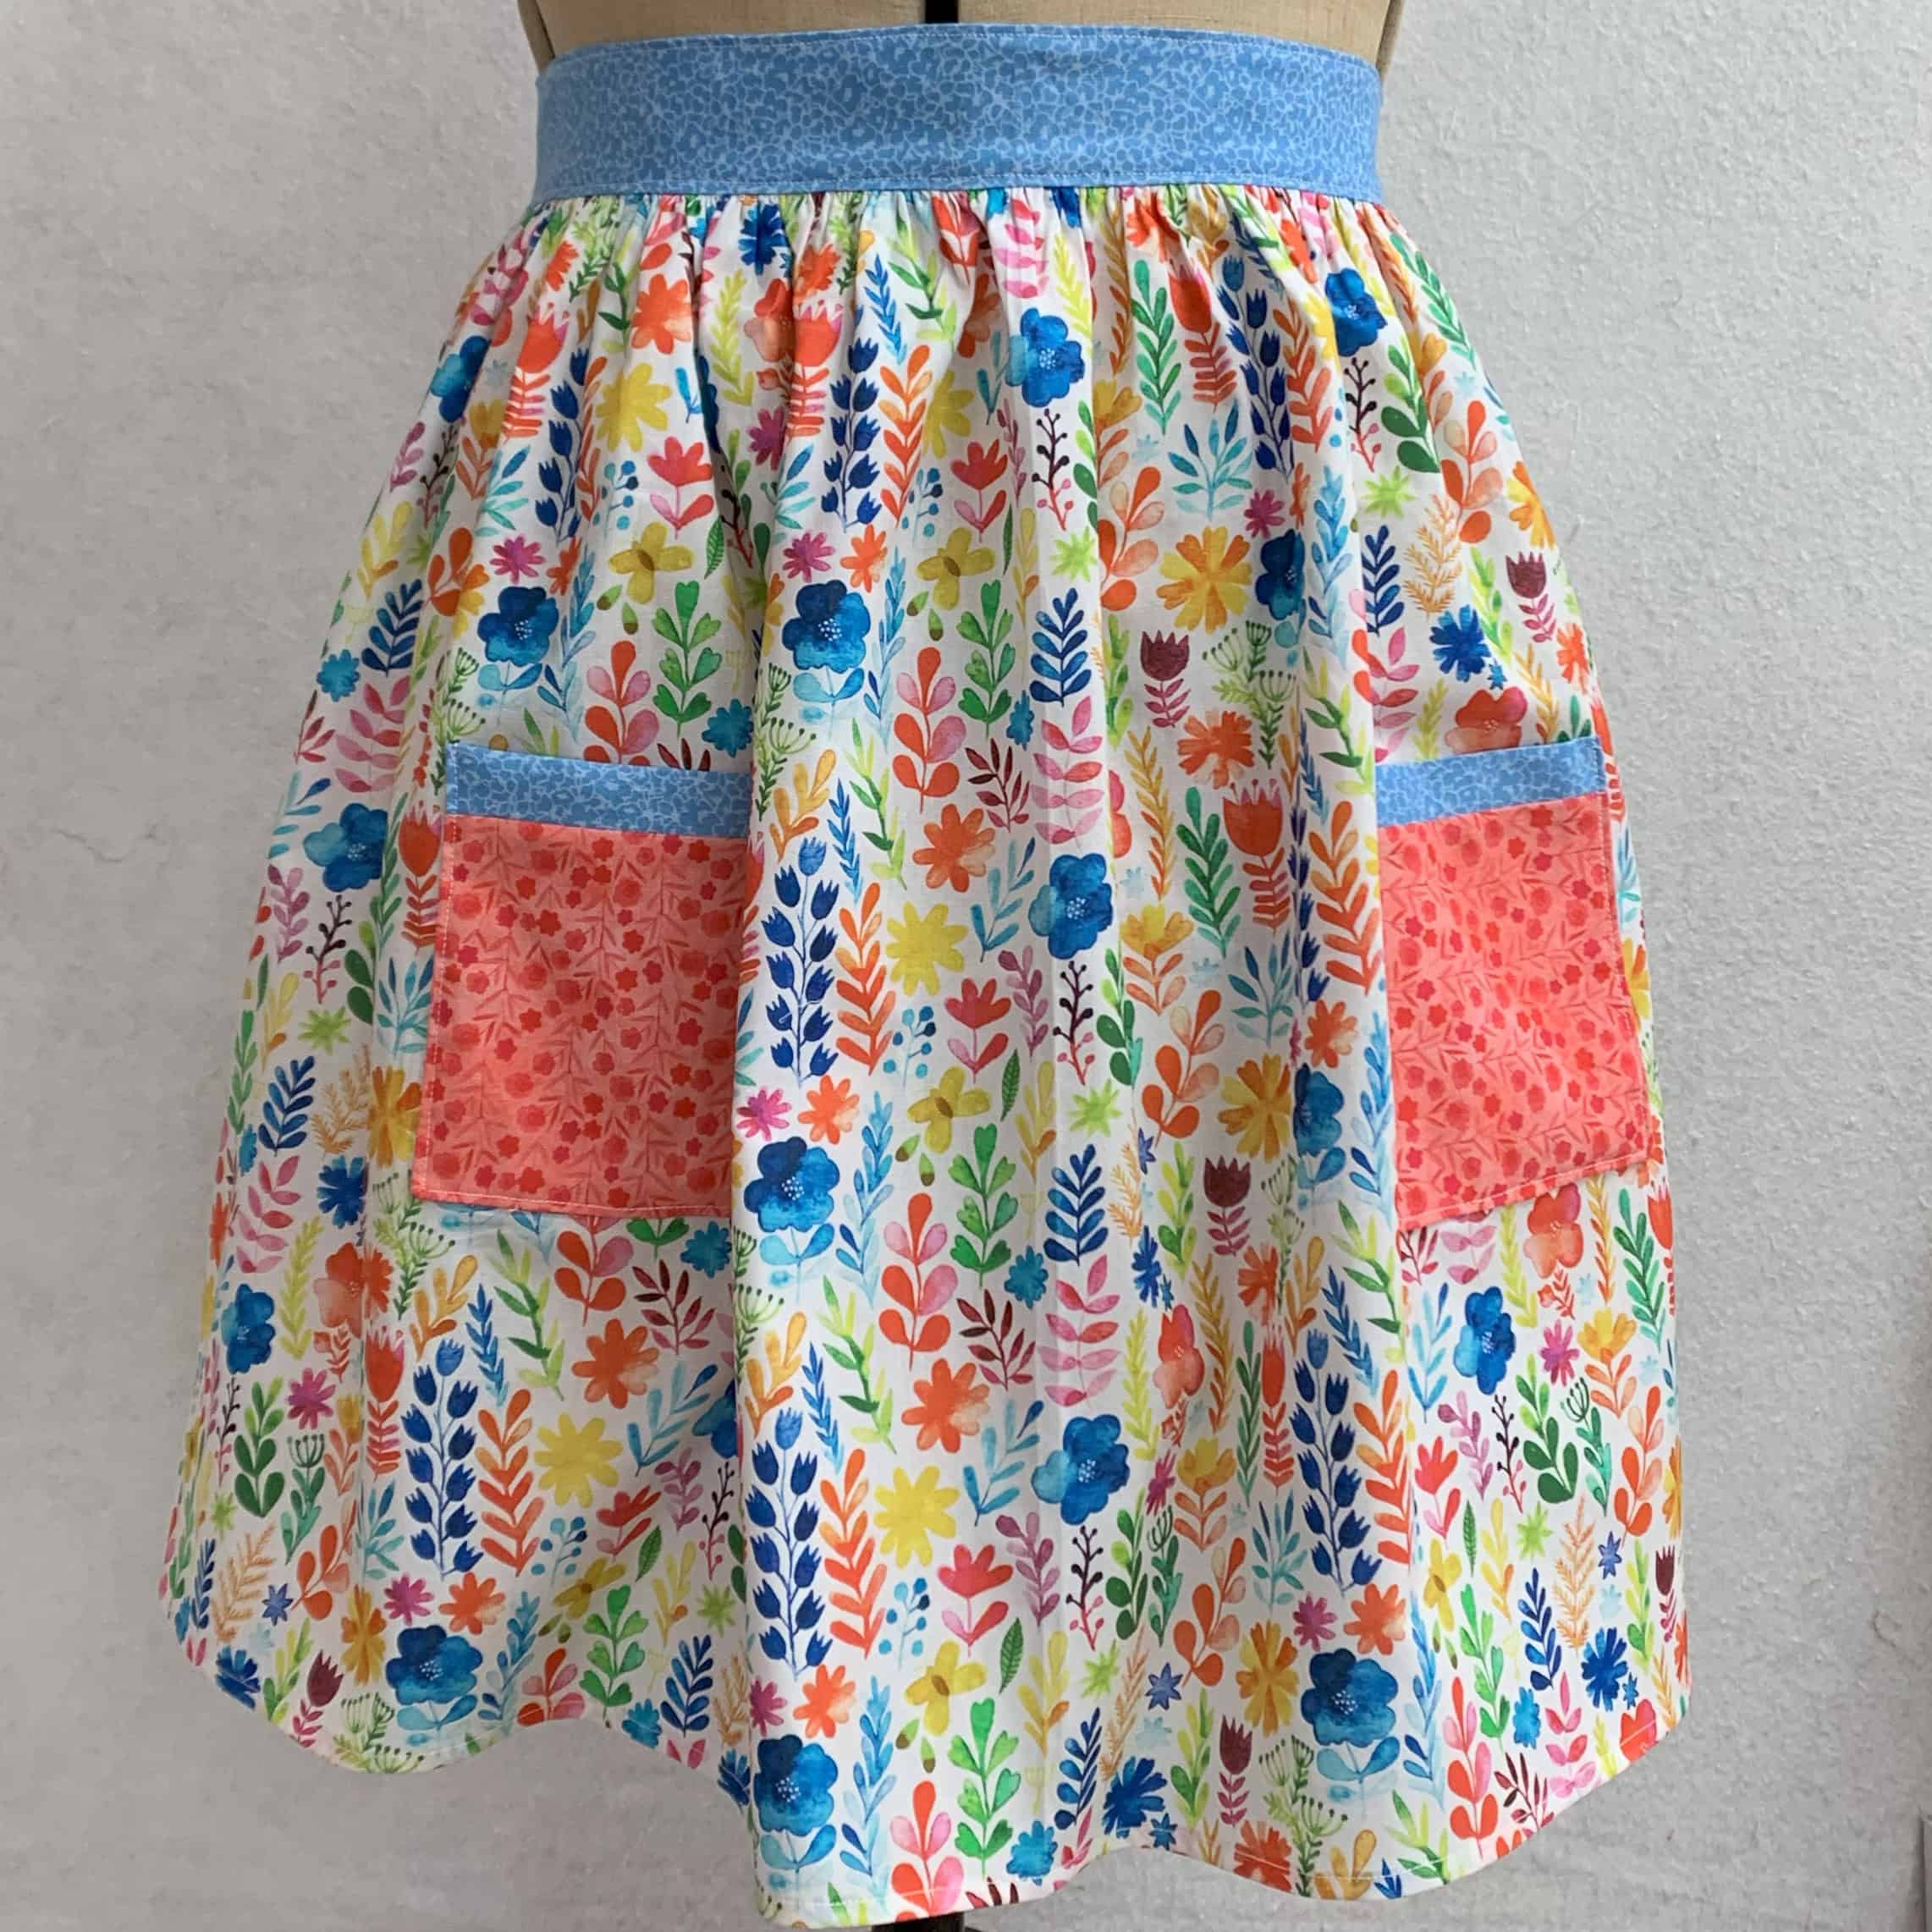
Aprons are making fashionable comeback with bright modern fabric. Take your kitchen to the next level with this pretty and useful addition to your kitchen! We might need to make some matching potholders to go with them…. What do you think?! To make this cute apron, we will be using dies that you probably already have in your stash… the 5” square and 2 ½” strip cutter… let’s sew!
Materials:
- AccuQuilt GO! Big or GO! Fabric Cutter
- AQ55010 GO! Square-5” (4 ½” Finished)
- AQ55017 GO! Strip cutter 2 ½” (2” Finished) 3 Strips
- ½ Meter Feature Fabric
- ½ Meter Contrast Fabric
- 1 Contrast Fat Quarter
- Turning tool (optional)
- Sewing Machine
- Matching Sewing Thread
- General Sewing Tools
Cutting Instructions:
- From contrast fabric:
- Using AQ55017 GO! Strip cutter 2 ½” (2” Finished) 3 Strips
- Cut (4) 2 ½” strips
- Using AQ AQ55010 GO! Square-5” (4 ½” Finished)
- Cut (1) 5” square
- Using AQ55017 GO! Strip cutter 2 ½” (2” Finished) 3 Strips
- From contrast fat quarter:
- Using AQ55010 GO! Square-5” (4 ½” Finished)
- Cut (4) 5” squares
- Using AQ55010 GO! Square-5” (4 ½” Finished)
Sewing Instructions:
All seams are ¼” unless otherwise specified.
Prepare the Apron Feature Fabric:
- Lay the ½” meter feature fabric on a cutting board. Place a quilting ruler on the fold and trim the edges of the fabric to straighten them up.
- Turn the fabric around and trim off the selvages on the sides.
- Take the trimmed fabric to the ironing board and iron out the crease.
- Fold the fabric in half again and make another crease. Press well.
This centre crease will be used when positioning the pockets and when gathering.
Hem the Apron Feature Fabric:
- Hem the sides of the apron fabric (where the selvage used to be)
- Hem the bottom of the apron.
Use whichever width of hem you are most comfortable with.
Sew the Apron Pockets:
- Take the 5” square of contrast fabric and cut (2) 2” x 5” strips. Discard the remaining 1” x 5” strip
- Take two of the 5” contrast fat quarter squares and sew them on either side of one of the 2” x 5” strips. Press away from the strip:
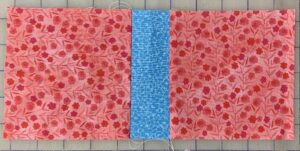
3.Fold the pocket piece in half, right sides together and sew around the pocket, leaving an opening at the bottom to turn it right sides out:
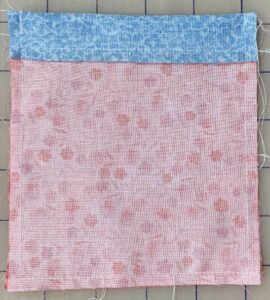
Tip! Start by sewing a quarter of an inch into the pocket, swivel, and keep sewing around. Do the same at the end – swivel and sew off the edge of the fabric. This will help the seam fold in easier when turning the unit right side out.
- Clip the corners of the pocket and turn right side out. Gently push out the corners with a pencil or similar tool. Press well.
- Repeat to make the second pocket.
Sew the Apron Pockets to the Feature Fabric:
- Place the folded apron on the cutting board, with the fold on the right.
- Measure 7” from the fold, and 7 ½” from the top of the apron. This is where the pocket will be placed:
- Pin one pocket in place, making sure not to pin to both layers of apron fabric. Flip apron around with the fold to the left. Position and pin the second pocket in place in the same way.
- Sew the pockets to the apron on three sides, using an 1/8” seam allowance.
Gather the Top of the Apron:
- Change the stitch length to a long one.
- Sew ¼” along the length of the top on the apron.
- Sew again ¼” away from the line just stitched.
- Starting from the right hand side, gently pull both of the top threads to start gathering the fabric:
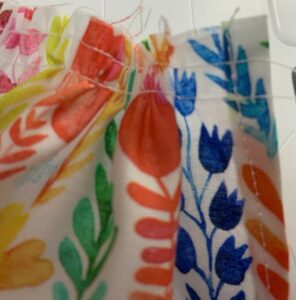
To avoid breaking the threads, only gather till the middle crease of the apron, then start gathering from the left of the fabric to the centre crease.
The gathered edges need to be approximately 9 ½” on either side of the crease for a total of 19” finished gathering.
* Remember to change the stitch length back to normal before going on to the next step!
Sew the Apron Waistband and Ties:
- Take two of the 2 ½” contrast strips and cut off the selvages. Press them in half, right sides together, making a new centre crease.
- Cut one of the 2 ½” strips in half lengthwise. You will now have one strip WOF (minus the selvages) and two half WOF strips.
- Sew the two half strips of fabric on either side of the WOF 2 ½” strip to form a long strip.
- Repeat steps 1-3 with the remaining two strips.
- Taking the two long strips, place them right sides together and sew 3 sides: the two short (2 ½”) edges and one long one.
- Take the sewn strips to the cutting board and measure 11” from the centre crease. Place a mark on the wrong side of the bottom of the strip:

Do the same measuring from the other side of the centre crease.
Sew from the marks to the edges of the strips. This will create a 20” gap in the middle of the strips in which to place the gathered apron piece.
- Clip the corners and turn the apron waistband and ties inside out using a turning tool (like a knitting needle or something similar). Carefully push out the corners and press.
Attach the Waistband and Ties to the Apron:
- Match the centre creases of the waistband and gathered apron and pin, right sides together.
- Keeping the gathered apron as flat as possible, pin well from the centre to the ends of the gap on the waistband:
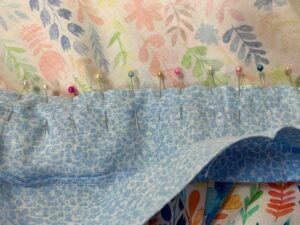
- Using a seam allowance a slightly wider than ¼”, sew the waistband and gathered apron together.
- Press the apron towards the waistband, with the gathers going up into the waistband:
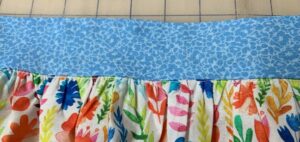
Pull out the second line of gathering.
5.Turn the apron around and press the seams of the opening under to form a hem, covering the gathered edge: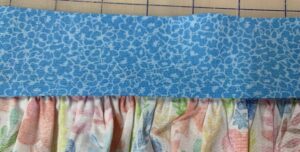
- Turn the apron around again and pin around the entire waistband and apron ties:
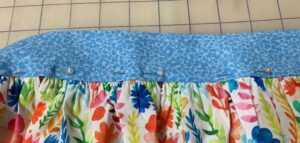
- Top stitch 1/8” around the entire waistband and apron ties:
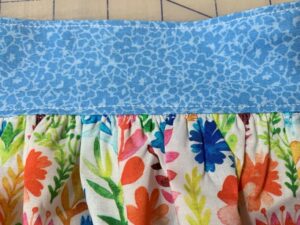
- Press the apron one more time.
Congratulations on finishing your project!
Don’t forget to share your projects with us on Instagram, tagging @accuquilt_australia and @daysfilledwithjoy and using the hashtags #accuquilt #accuquiltaustralia #cuttimequiltmore and #daysfilledwithjoy or our Facebook pages AccuQuilt Australia and Days Filled With Joy.
merci pour ce joli patron.