- AccuQuilt GO! Big or GO! Cutter Fabric Starter Set
- AQ55058 GO! Square – 8 /2” (8” Finished)
- AQ55338 GO! Drunkards Path – 4” Finished
- AQ55017 GO! Strip Cutter 2 ½” – 2 “ Finished
- AQ55111 GO! Cutting Mat – 10 x 10
- AQ55113 GO! Cutting Mat – 10 x 24

- Fabric 1 – 75cm
- Fabric 2 – 75cm
- Fabric 3 – 75cm
- Fabric 4 – 75cm
- Fabric 5 – 75cm
- Fabric 6 – 75cm
- Fabric 7 – 25cm
- Fabric 8 – 25cm
- Backing fabric – 1.6m x 2.3m wide
- Binding fabric – 40cm
- Wadding – 1.70m
- General sewing equipment
Cutting Instructions:
- From Fabric 1, cut 3, 9” x Width of fabric (WOF).
- Using AQ55058 GO! Square. Cut 4 squares
- Using AQ55338 GO! Drunkards Path. Cut 14 arcs and 16 circles
- From Fabric 2, cut 3, 9” x WOF.
- Using AQ55058 GO! Square. Cut 3 squares
- Using AQ55338 GO! Drunkards Path. Cut 12 arcs and 12 circles
- From Fabric 3, cut 3, 9” x WOF.
- Using AQ55058 GO! Square. Cut 3 squares
- Using AQ55338 GO! Drunkards Path. Cut 12 arcs and 12 circles
- From Fabric 4, cut 3, 9” x WOF.
- Using AQ55058 GO! Square. Cut 3 squares
- Using AQ55338 GO! Drunkards Path. Cut 12 arcs and 12 circles
- From Fabric 5, cut 3, 9” x WOF.
- Using AQ55058 GO! Square. Cut 3 squares
- Using AQ55338 GO! Drunkards Path. Cut 12 arcs and 8 circles
- From Fabric 6, cut 3, 9” x WOF.
- Using AQ55058 GO! Square. Cut 3 squares
- Using AQ55338 GO! Drunkards Path. Cut 14 arcs and 10 circles
- From Fabric 7, cut 1, 9” x WOF.
- Using AQ55058 GO! Square. Cut 1 squares
- Using AQ55338 GO! Drunkards Path. Cut 4 arcs and 8 circles
- From Fabric 8, cut 1, 9” x WOF.
- Using AQ55058 GO! Square. Cut 1 squares
- Using AQ55338 GO! Drunkards Path. Cut 4 arcs and 6 circles
- From Binding fabric, using AQ55017 GO! Strip cutter. Cut 6 strips along WOF.
Sewing Instructions
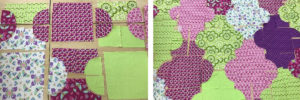
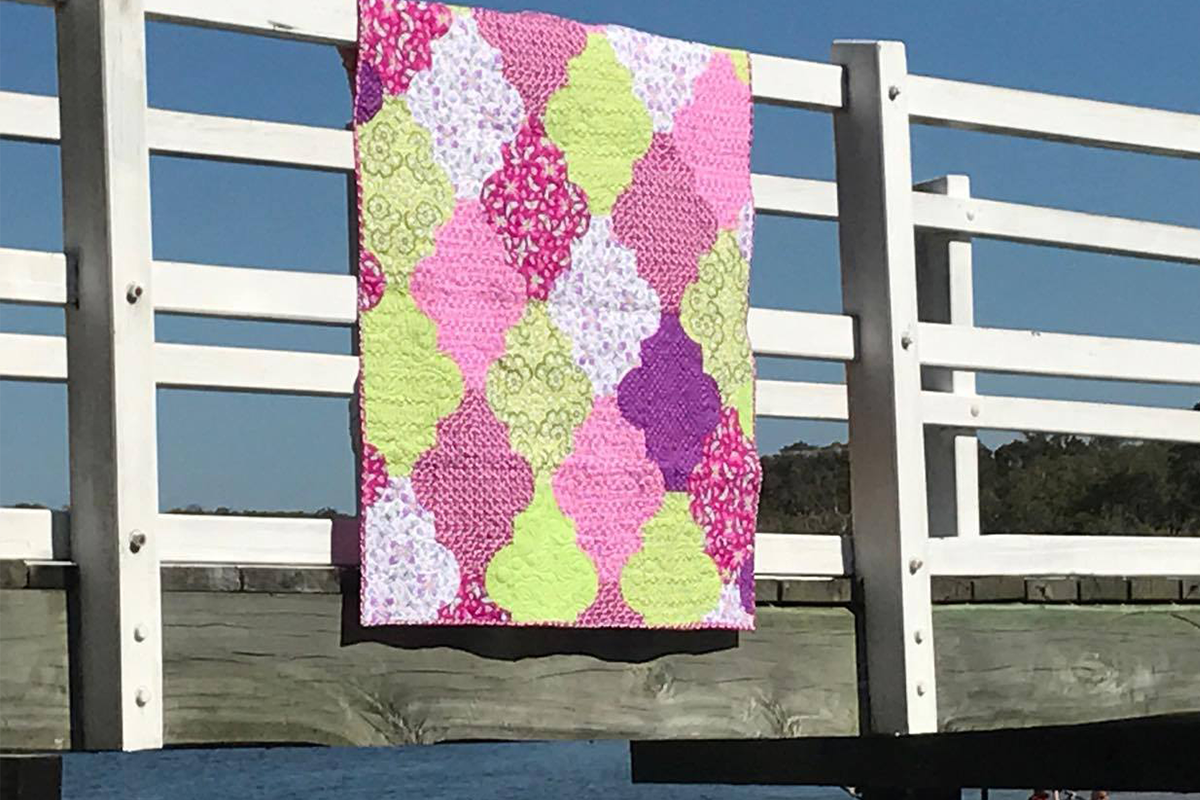
- In an area where you have enough room and will not be disturbed whilst sewing, lay out your quilt pieces as shown. It will consist of 4 x arcs and 4 x circles to create a ‘block’ and an 8” square, alternate blocks, squares and colours as you go.
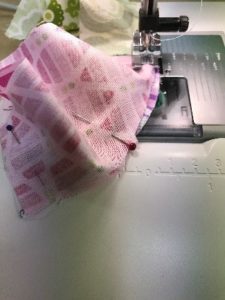
- Using ¼” seam allowance, and starting at the top left hand corner of the quilt, select 1 x arc and 1 x circle. Match notches, pin if required, and sew edges together to form a square. NOTE: I personally like to use 2 pins, one in the centre and one at the end. Please feel free to use as many as you like, although sometimes the more you use the more of a hindrance they can be, as they do not let the material manipulate as needed.
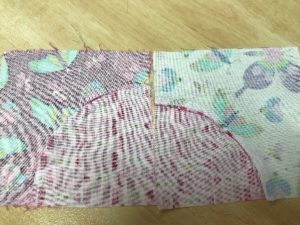
- Repeat with the remaining three arc and circles. Press.TECHNIQUE TIP: Although most pattern makers will encourage you to press seam away from circle, when matching circles, I prefer to press one seam away from the circle and one seam towards the circle as shown below. This way you can nest seams to give you a crisp and accurate circle line as shown below.
- Take the squares with matching fabrics and sew together, checking the orientation as you go. Repeat for second set of squares of block.
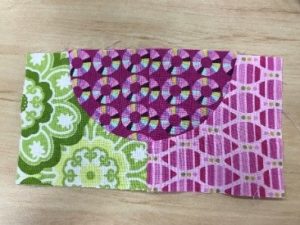
- Press the centre seams in opposite directions.
- Sew lengthwise, matching centre seams, which should be nesting in opposite directions.
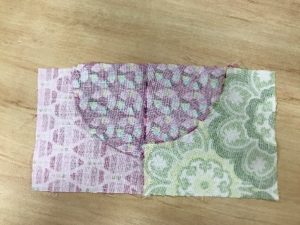
- TECHNIQUE TIP: With the four matching seam in the centre of the block, prior to pressing, take an unpicker and remove the few stitches from the first seam, between the main seam and the outer edge as shown below. Repeat on second side. Take your fingers and separate the seams, pushing seams in opposite directions. Press. You will now see the seams have been distributed around the centre, and there is no bulk in the centre of your block.

- Repeat this process for all Drunkards Path blocks. Return each block to its place in the quilt when completed.
- Starting from the first row, sew blocks together as arranged, with a Drunkards Path block, and then a square. Press seams towards the squares.
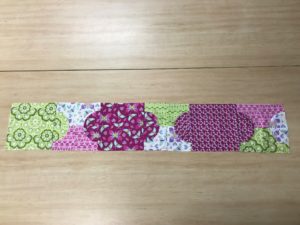
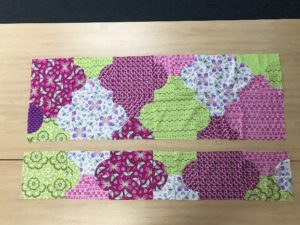
- Sew row 1 to row 2, matching blocks. Again, seams should interlock together to give nice clean lines. Repeat process until all rows are sewn together. Your quilt top will now be complete!
Quilting and Finishing
- Layer wadding between quilt top and backing.
- Pin or baste layers together.
- Machine quilt as desired.
- Add binding, mitring corners.
Debbie, Love the pattern.
Could this be changed for the 9″ Qube Drunkards Path?
Hi Diane,
Yes you can, although you will need to hand cut your coordinating squares, as there is no 9″ finished square die.
Debbie
I love this quilt and the moderness it lends to an quilt. I like all the green in it.