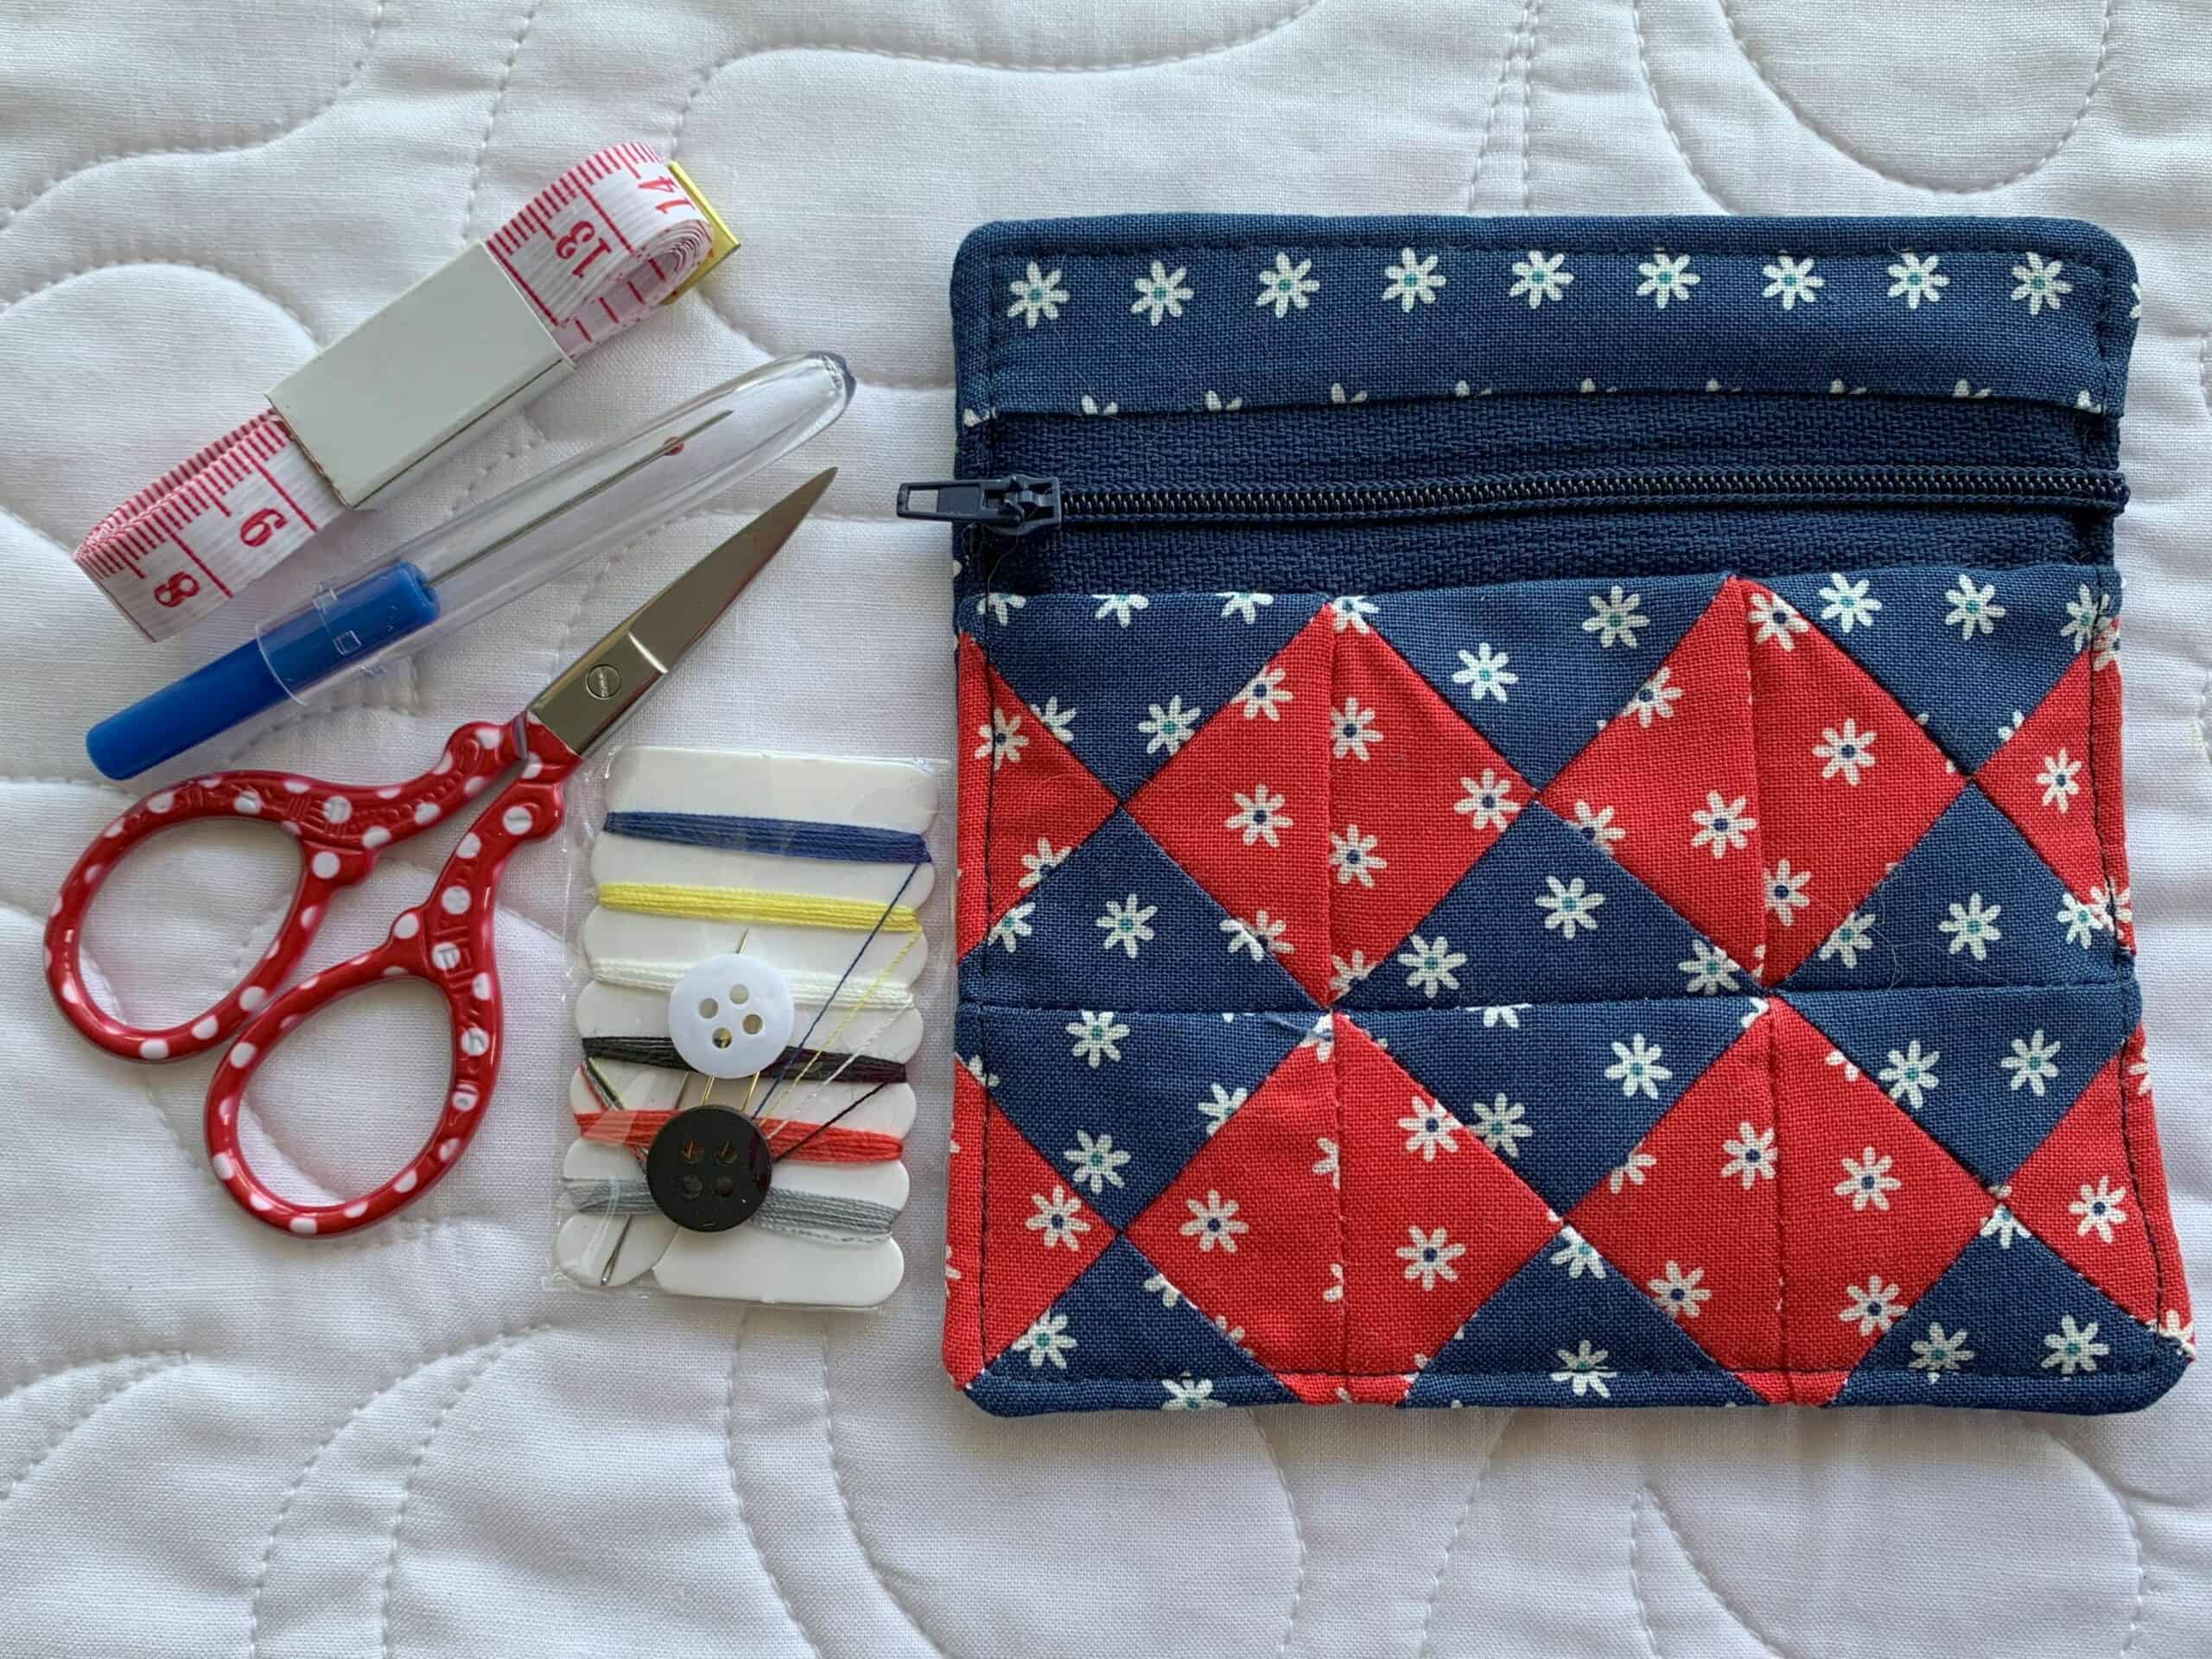
This sweet little zipper pouch is easy to make and can hold all sorts of goodies! Use it to make your own sewing kit to take with you to craft days, pop in your car’s glove box for “just in case” or give to a friend as a gift. It would also be great to put a gift card in as a present, hair ties and clips for a little one in your life, spare cash… the possibilities are endless! Materials:
Cut (6) half square triangles (HST) of contrasting fabric
From (1) 5” lining square and (1) 5” outer fabric square:
Using ruler and rotary cutter:
Sub cut both squares into (2) pieces:
(1) 5” x 1 ½”
(1) 5” x 3 ½” (only the lining piece needed for this project)
Sewing Instructions:
All seams are ¼” unless otherwise specified.
Sew the Hourglass Front Panel
Take two contrasting HSTs and sew them right sides together. Do this to make (6) pairs of HST units. Press units open, and seam allowance towards the darker fabric:
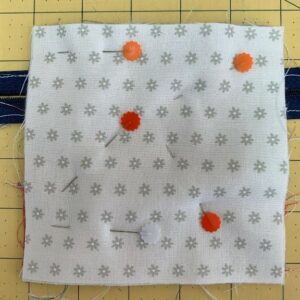
2.Take two of the HST units and place them right sides together, the dark triangle on top of the lighter triangle.
Using a ruler and pencil, draw a diagonal line from corner to corner:
Pin, making sure the seams are lying flat against each other. Sew ¼” on either side of the line.
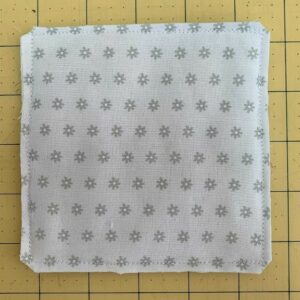
3.Cut along the line to make two hourglass units. Press. Trim the block to 2 ½” square. Repeat to make a total of (6) hourglass blocks. 4.Lay the hourglass blocks out in two rows of three and sew together to make the bottom front panel.
Sew the Zip to the Front panels and Lining.
Materials needed for this section:
1. The hourglass unit made previously.
2. Zip 20cm or longer
3. (2) lining pieces sub cut:
o (1) 5” x 1 ½”
o (1) 5” x 3 ½”
4. (1) outer piece:
o (1) 5” x 1 ½”
Place the zip right side up, with the zipper pull to the left, on the 5” x 1 ½” lining piece facing right side up.
Place the 5” x 1 ½” outer fabric right side down on top of the zip and lining fabric and pin:
Using a zipper foot, sew the three layers together, keeping the left side of the presser foot right up against the ridge of the zip.
Press away from the zip:
2. Turn the unit around with the zipper pull to the right, still facing right sides up. Place the zip unit on top of the of the 5” x 3 ½” piece of lining, right side up:
Place the hourglass unit right side down on top of the zip:
Pin and sew all layers together, as before. Press away from the zip to make the front of the zipper pouch:
Complete the Zipper Pouch
Materials needed for this section:
The front unit of the zipper pouch
The remaining (1) 5” lining square and (1) 5” outer fabric square
The (1) 5” square of batting
Measuring from the bottom of the front unit, trim the top to make it 5” square.
Before sewing all layers together, pull the zipper tab to the middle of the front unit.
Layer in the following order:
Front unit right side up, 5” outer fabric square right side down, 5” square of batting and 5” lining square right side up. Pin well and sew around the entire square. Trim around the squares, cutting off the excess length of zip, and clipping the corners:
Turn the zipper pouch right side out and press well. Top stitch around the pouch.