I love a fresh pot of tea and the peace and quiet that can come with taking time out to enjoy it! I use tea bags when I make my tea and can usually drink the whole pot by myself!
These instructions for how to make a tea cosy using fabric scraps is super easy and fits a medium to large teapot.
Let’s Make a Scrappy Tea Cosy!
Materials:
To complete the “how to make a tea cosy” project, you’ll need the following materials and equipment:
- AccuQuilt GO! Big Fabric Starter Set
- AQ55451 GO! Big Square-10″ (9 ½” Finished) Die
- AQ55470 GO! Square – 1 ½” (1” Finished)
- GO! Big Cutting Mat – AQ55146 (14” x 16”)
- GO! Cutting Mat – AQ55137 (6” x 6”)
- Assorted scraps or fat quarters
- (2) pieces of batting 10” square
- (2) one meters pieces of ribbon
- (4) pieces of 3/8” ricrac, cut 10 ½” long
- Sewing Machine
- Matching Sewing Thread
- General Sewing Tools
Cutting Instructions:
- From assorted scraps:
- Using AQ55470 GO! Square – 1 ½”
- Cut (162) squares of fabric
- Using AQ55451 GO! Big Square – 10”
- Cut (3) squares of fabric
- Cut (2) squares of batting
- Using AQ55470 GO! Square – 1 ½”
- From (1) of the 10” fabric squares:
- Using your rotary cutter
- Cut (2) 2 ½” x 10” strips
- Using your rotary cutter
Sewing Instructions:
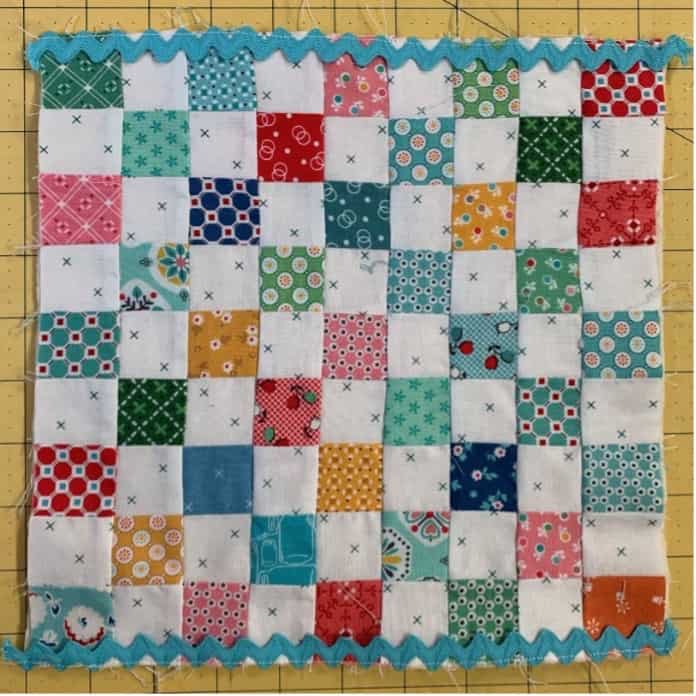
All seams are ¼” unless otherwise specified.Make the Scrappy Cover:- Take (81) 1½” squares and arrange them in a 9 x 9 grid. Sew them together.
- Repeat step 1 to make two
- Take one scrappy square and place it on top of one of the 10” squares of batting.
- Place one piece of ricrac at the top and stitch through all layers using a 1/8” seam allowance. Repeat with another piece of ricrac along the bottom. This is just to keep it in place before the next step. Refer to picture below
- Repeat step 4 to make 2.
- Place (one) of the 10” squares right sides together on top of the scrappy square. Pin and sew around all the sides, leaving a 3” – 4” opening for turning.
- Trim the corners and then turn right side out. Press and top stitch all around, closing the gap as you go.
- Repeat steps 6 – 7 to make 2
- Take one of the 10″ x 2 1/2″ strips of fabric. Fold the ends over about 1/4″ and sew down to neaten up the edges. Refer to picture below

- Fold the strip in half lengthwise, wrong sides together, and sew 1/4″ down the length. Refer to below.

- Press the seam open and press the strip so that the seam is in the middle of the back of the strip. Refer to below.

- Flip it over to the front and it will look like this. Refer to below.

- 13. Repeat steps 9- 12 to make 2.
- Take one of the strips of ribbon casing and line it up 1 1/4″ inches below the top of the tea cosy panel:

- Stitch the ribbon casing to the panel at the top and bottom of the strip.
- Repeat steps14 -15 to make 2.
- Place the outside and inside tea cosy panels right sides together and pin.
- Join them together by sewing a little over ¾” length on each of the corner edges as seen in the photo below:

- Gently turn it right side out.
- Take one of the pieces of ribbon and thread it through both sides of the casing, going from right to left and back to where you started. Tie a knot in the ends.
- Do the same thing with the other ribbon, in the opposite direction. Tie a knot in the ends.
- The ribbons should both go around the whole tea cosy and have the knotted ends be at opposite sides like this:

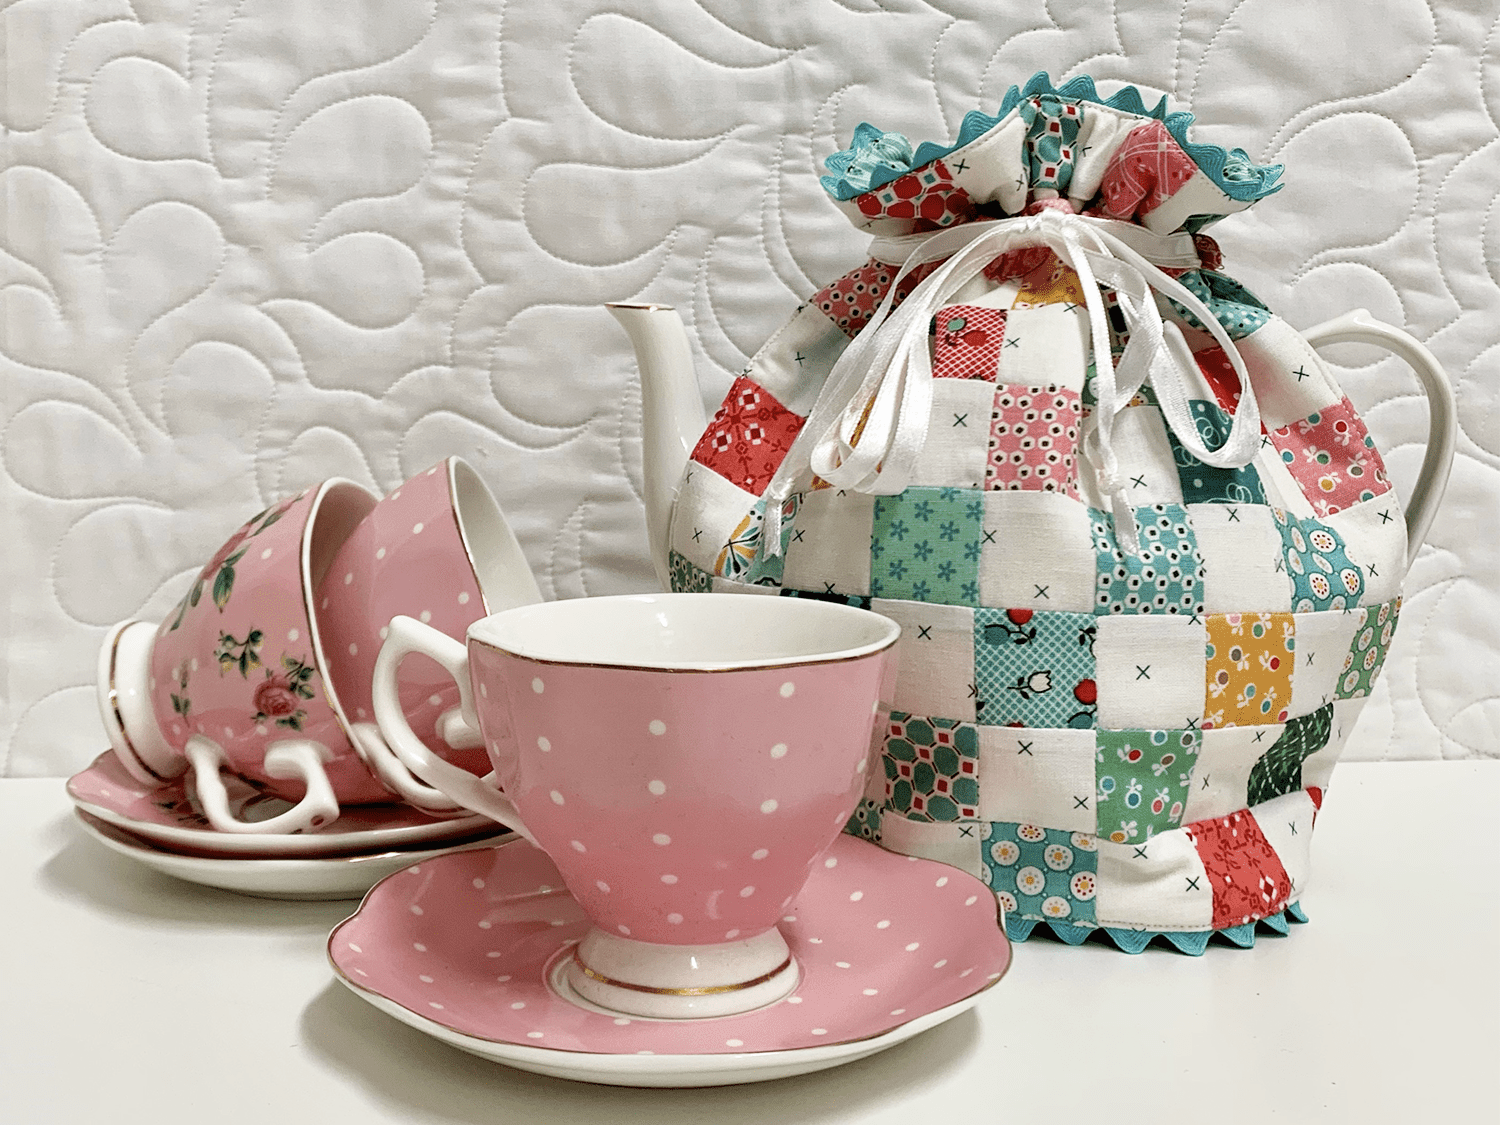
- Grab a teapot and pop it in the tea cosy! And then make yourself a pot of tea of course!
Congratulations on finishing your project!
We hope you enjoyed our instructional guide on how to make a tea cosy using fabric scraps. This is an excellent project for using up all of the old scraps of fabric that you have held on to. If you’ve completed this “how to make a tea cosy” project, don’t forget to post it on social media and tag @accuquilt_australia on Instagram.