Due to popular demand, AccuQuilt Australia is sharing a free pattern to make protective face masks. This face mask pattern will allow you to share your expert sewing skills with the community.
Disclaimer:This Surgical Face Mask is not considered Personal Protection Equipment (PPE) and should only be used when there is no other alternative is available.
Materials:
- AccuQuilt GO! Big or GO! Fabric Cutter
- AQ55086 GO! Strip Cutter 6 ½” (6” Finished) OR any other GO! Strip Cutter
- 20cm x 25cm of two printed fabrics.
- 40cm of 3mm or 6mm elastic
- Rotary Mat, Cutter and Ruler
Cutting Instructions:
All instructions will now be in imperial in accordance with the standard patchwork and quilting measurements.- Using the GO! Strip Cutter 6 ½” (6” Finished) cut two strips. Cross cut these at 9 ½”.
Alternatively
- I used the 2 ½” strip die to cut 3 strips, crosscut at 9 ½”.
- Cut elastic into 2 pieces 7” long.
- Using the three 2 ½” strips layout on a table in your preferred order. Image 1.
- With right side together, sew the strips into the mask front. Image 2.
- Iron seams open. Figure 3.
- Lay the pieced front, right side together, with the back. Figure 4.
- Starting on one of the long seams, sew a ¼” seam, starting about 2/3 of the way down the edge. Figure 5.
- Sew to ¼” of the corner. Insert one end of the elastic, leaving a small amount protruding from the fabric. Figure 6.
- Pivot on the corner and start sewing the seam. You may like to backstitch over the elastic for reinforcing. Figure 7.
- Sew this short side to approximately 1” of corner. Take the same elastic, which is inside the mask, and manoeuvre the end to second corner and stitch in place. Figure 8.
- Continue sewing along the long edge and repeat steps 6 to 8.
- Continue sewing to within 2” of your starting point. Backstitch to secure. Figure 9.
- Remove from under machine and clip corners. Figure 10.
- Turn right side out and press. Figure 11.
- Measure down each small end of your mask and mark at 1”, 2 ¾” and 4”, in the same direction. Figure 12.
- Fold-down each of these marks approximately ¼” to make a tuck. Pin or clip in place. Figure 13.
- Starting anywhere along the long edge, stitch approximately 1/8” from the edge around the mask and through the tucks. This stitching line will close the opening where you turned the mask through.
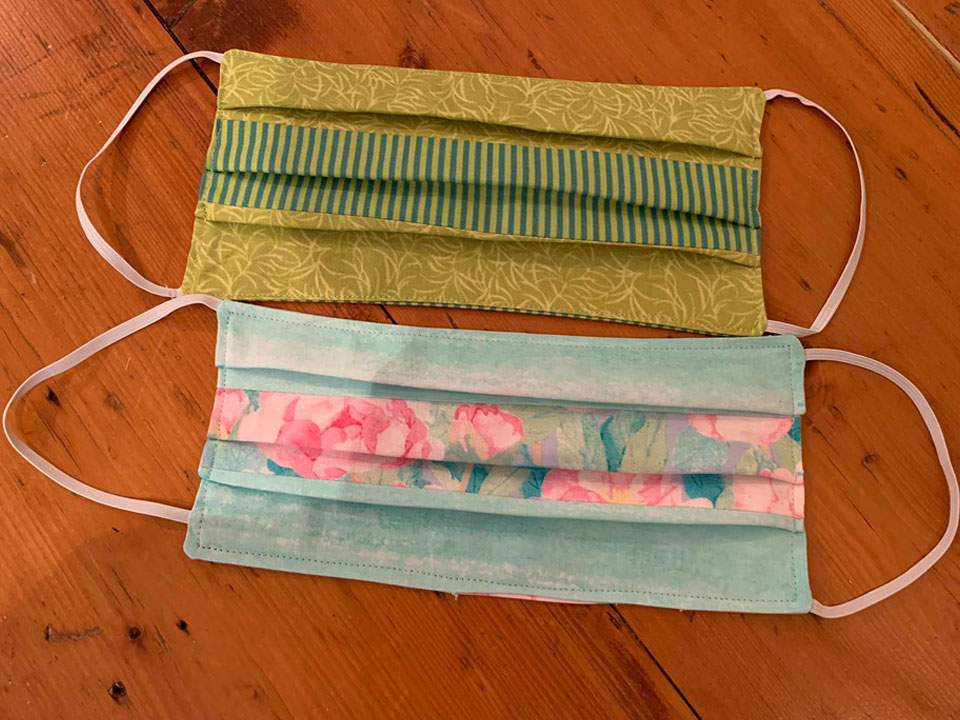
- Press the pleats in place. Figure 14.
Hint: you can use any size GO! Strip Cutter, the same size or different, as long as the finished front measures 6 ½” wide.
Sewing Instructions
All seams are ¼” unless otherwise specified


Thank you for this very straight forward pattern and excellent instructions.