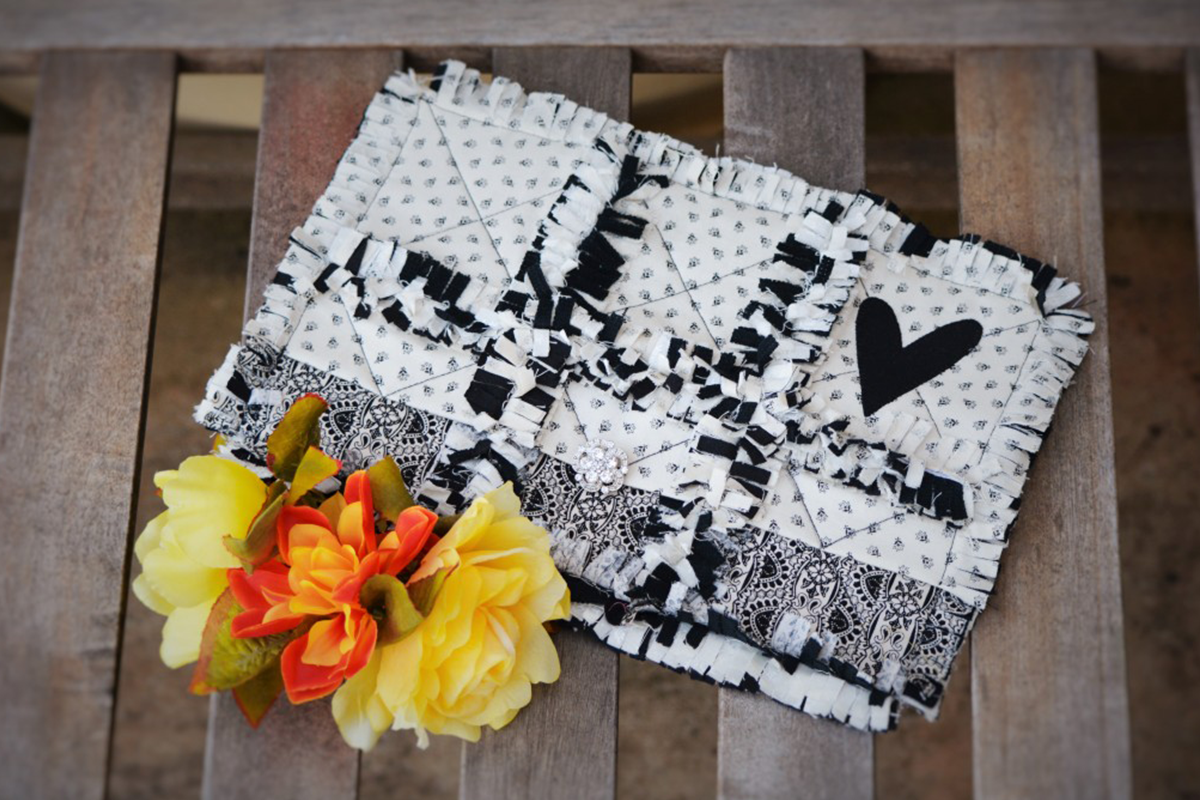
This project is quick and easy, plus it makes the perfect gift! Make a clutch or a sewing organiser to store tools such as a ruler, rotary cutter and marking pens! You can even turn it into a pencil roll by sewing some grooves and adding some ribbon to tie it up! The possibilities for the AccuQuilt Rag dies are endless!
Materials:
- 3 x 12” strips of co-ordinating fabrics for outside rag squares
- 12” strip of fabric for lining rag squares
- 12” strip of flannelette
- 8” strip of heavy interfacing
- 3” square of fabric with iron on fusible web for heart appliqué
Equipment:
- Sewing Machine
- AccuQuilt GO! Big, GO! or GO! Baby Fabric Cutter
- AQ55033 GO! Rag Square – 5¼”
- AQ55006 GO! Square – 3 ½” (3” Finished)
- AQ55325 GO! Queen of Hearts
- AQ55112 GO! 6” x 12” Cutting Mat
Cutting Instructions:
AQ55033 GO! Rag Square – 5 ¼”- Cut 15 rag squares from the 3 strips of co-ordinating fabrics, as per your desired colour layout.
- Cut 12 rag squares from the lining fabric
- Cut 14 rag squares from the flannelette
- Cut 14 squares from the heavy interfacing
Note: Cut 2 of these squares in halfAQ55325 GO! Queen of Hearts
- Cut your choice of heart from the 3” fabric scrap
Sewing Instructions:
- Using a fabric marker, mark diagonally across each corner of the outside fabric rag squares to create an “X”. This will help guide you whilst you stitch each one together!
- Create a rag square sandwich by layering the right side of the lining fabric down onto the table, followed by the flannelette, then the square of interfacing and finally place the main fabric right side facing up. Pin together and repeat for the rest of the squares.
- Use the same process to create the 3 half rag sandwiches, which finish off the front flap of the clutch neatly. Place an outside rag square right side down, then add half a piece of flannelette, followed by half a piece of interfacing. Fold over the other side of the rag square to create a rectangle.
- Select straight stitch on your sewing machine, follow the marked lines and stitch down each rag sandwich to create a “X” pattern.
- Select a rag block that you would like the appliqué heart on. Iron the heart into position and blanket stitch around the outside.
- Lay out the rag squares in 4 rows of 3 with the half squares along the top.
- Pin and sew squares together in horizontal rows, wrong sides together. Use a 1” seam allowance and a slightly shorter stitch length (2.0mm). Note: Place the love heart block in the top right corner. Check it is facing the correct way!

- Sew straight across the bottom rag squares to enclose them. Fold this bottom row up to create the clutch shape and pin into position
- Sew down each long side of the clutch.
Tip! This project can be adapted to create a sewing organiser! It is great to store your sewing tools such as a ruler and rotary cutter! I have sewn down a section to create grooves for my marking pens to keep them organised!
BE CREATIVE! Get creative with the closure possibilities! Add some buttonholes along the half rag squares and attach some funky buttons. Sew some contrasting ribbon to tie it up or even turn it into a pencil holder roll and attach the ribbon on the sides. Hand sew some snaps is also a fantastic way to keep everything inside.