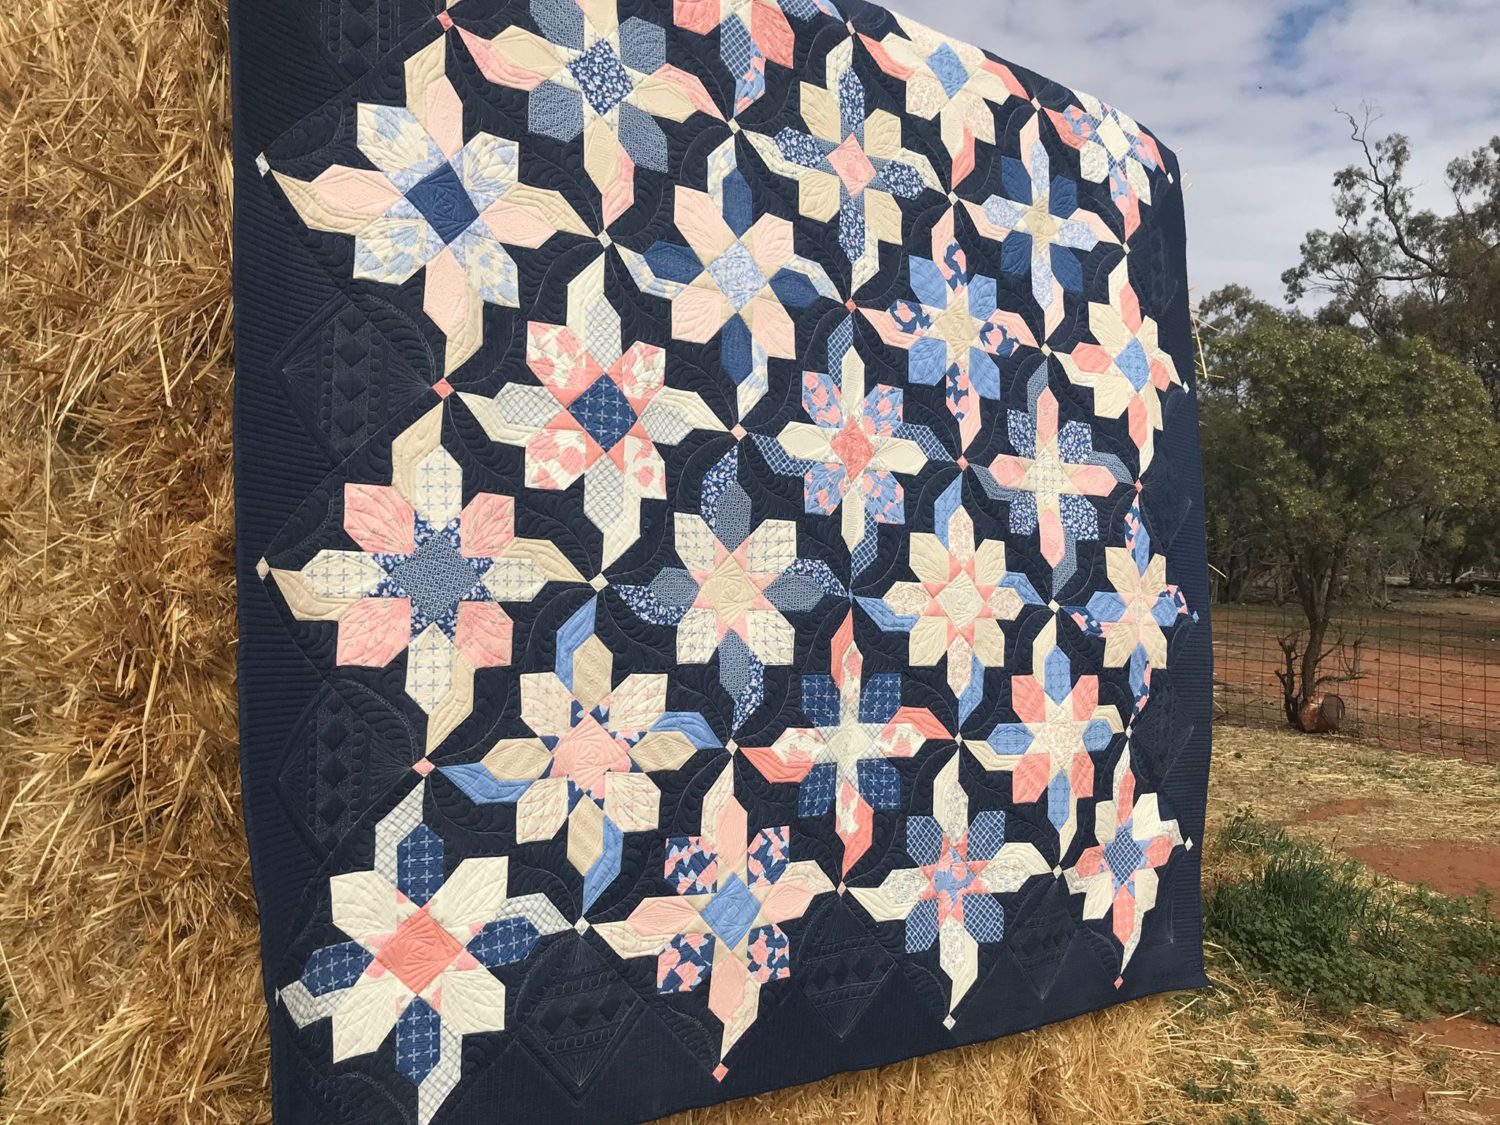
Twisting and turning in the gentle breeze on a warm spring day, the gentle movement within the design allow these beautiful flowers to flow together.
Materials:
Cutting Instructions:
- From the main fabric cut:
- Using 55024, cut 32 x 1 ½” strips for sashing. Cross cut into lengths 16 ½”. You will need a total of 64.
- Cut (3) 25” strips. Cross cut into 25” square. Cut diagonally, twice, to make (4) quarter square triangles (QST). You will need a total of 12 triangles.
- From remaining fabric above, cut (2) 12” squares. Cut diagonally to make 2 half square triangles (HST) – you will need a total of 4.
- For binding – Cut (10) 2 ½” strips.
Sewing Instructions:
- Row 1 and 7 – referring to picture below.
- Using (1) block, sew (1) 1 ½” x 16 ½” strip to opposite sides of the block, matching centres. Press seam towards the sashing.
- Sew (1) 1 ½” square cornerstone onto each end of (1) 1 ½” x 16 ½” strip. Press seam toward strip. Sew onto top of square, matching seams of cornerstones and centre. Press towards sashing.
- Sew (1) large QST onto opposite sides of the block, matching corners. You will find the triangle will extend past your cornerstone. Press towards QST.
- Repeat to make two blocks.

- Row 2 and 6 – referring to picture below
- Using (3) blocks, sew (4) 1 ½” sashing strips onto edges and outer edges of the blocks. Join blocks into a row. Press towards sashing.
- Sew (4) 1 ½” square cornerstones to each end of (3) 1 ½” strip sashing’s. Press seam towards sashing. Sew on top of your row, matching seams, cornerstone and centre of blocks.
- Sew (1) large QST onto opposite sides of the row, matching corners. You will find the triangle will extend past your cornerstone. Press towards QST.
- Repeat to make the second row.

- Row 3 and 5 – referring to picture below
- Using (5) blocks, sew (6) 1 ½” sashing strips onto edges and outer edges of the blocks. Join blocks into a row. Press towards sashing.
- Sew (6) 1 ½” square corner stones to each end of (5) 1 ½” strip sashing’s. Press seam towards sashing. Sew on top of your row.
- Sew (1) large QST onto opposite sides of the row, matching corners. You will find the triangle will extend past your cornerstone. Press towards QST.
- Repeat to make a second row.

- Row 4 – referring to picture below
- Using (7) blocks, sew (8) 1 ½” sashing strips onto edges and outer edges of the blocks. Join blocks into a row. Press towards sashing.
- Sew (8) 1 ½” square corner stones to each end of the (7) 1 ½” strip sashing’s. Press seam towards sashing. Repeat to make a total of 2 sashing’s.
- Sew onto top and bottom of your row, matching seam, cornerstones and centre of blocks. Press seams towards sashing’s.

Quilt Construction:
Take your completed row and arrange as shown below. Sew row together, matching seams, cornerstones and block centres. Press seams towards sashing.
Sew (1) 12” HST triangle to each corner of the quilt. Press seams towards HST

Finishing
- Layer wadding between quilt top and backing
- Pin or baste layers together
- Quilt as desired.
- Add binding, mitring corners.
Thank you
Which corner/setting triangle dies would work with this? What is the finished size of these triangles?
Hi MS,
This quilt was made prior to the set in triangles being release. The finished block is 16″, so the set in that will co-ordinate with this size. Rotary cutting instructions are included in the pattern. 🙂 Debbie