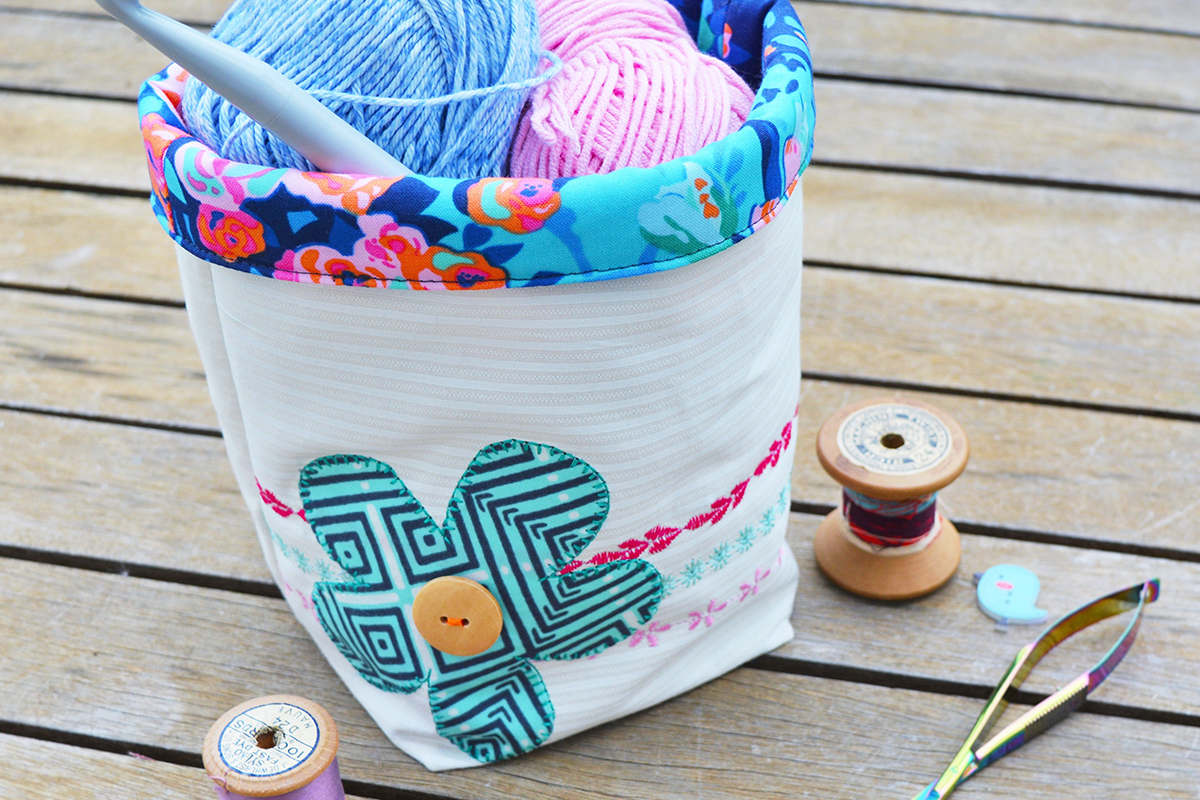
I love functional pieces and this fabric bucket is perfect for storing your favourite notions and gadgets, in style! It also makes a great gift filled with eggs for Easter!
Materials:
- GO! Big, GO! or GO! Baby Fabric Cutter
- AQ55042 GO! Funky Flowers
- AQ55137 GO! Cutting Mat 6” x 6”
- 30cm / 12” Main fabric
- 30cm / 12” Lining fabric
- 30cm / 12” Pellon
- 30cm / 12” Heavy iron on stabilizer
- 30cm / 12” Tear away
- 10cm / 4” Square of fabric with fusible web ironed onto the wrong side
- 1 x 25cm / 1” Wooden button
Cutting Instructions:

- Main fabric: cut (2) 10” squares
- Stabilizer: cut (2) 9.5” squares
- Lining fabric: cut (2) 11 ½” x 10”
- Pellon: cut (2) 11” x 9 ½”
- Using AQ55042 GO! Funky Flower die, cut out one of the large flower shapes from the 4” square of fabric. Peel off the paper backing, ready to appliqué onto the main fabric.
Sewing Instructions:
- Lay the (2) squares of main fabric right side down on your ironing board. Centre each square of stabilizer on top of the fabric and iron into position, leaving ¼” all the way around the main fabric. Repeat with the lining fabric, however this time attach the Pellon to the back. Tip: Cutting the stabilizer and Pellon slightly smaller reduces the bulk whilst sewing!
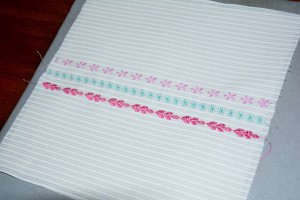
- Place (1) square of the main fabric on top of the tear away. Using your sewing machine select decorative stitches to embellish the front of your fabric bucket. Note: Keep in mind that 2 ½” from the bottom of the fabric will create the base of the bucket.
- Iron the flower motif on top of the decorative stitches, leaving at least 1” seam allowance from the side. Applique as desired with your favourite blanket or decorative stitch! Remove excess tear away when finished
- Sew on the wooden button with a bright contrasting thread, in the centre of the flower.

- Lay the main and lining fabric pieces right side down and mark a 2 ½” square in each of the bottom corners. Using a rotary cutter and ruler, cut away this 2 ½” square.


- Place main fabric, right sides together and sew along both sides and the bottom with a ¼” seam. Back stitching at the beginning and end of each seam.
- Repeat step 6 with the lining fabric, however leave a 3” gap in (1) of the side seams.
- Box the corners of the main fabric by pinching the side and bottom seams together. Pin in place and sew together with a ¼” seam allowance. Back stitch at the beginning and end. Repeat with the lining.
- Turn the main fabric right way out and place inside the lining. Match the side seams, pin together and sew along the top with a ¼” seam.
- Turn the right way out through the hole in the lining. Push the lining down into the bottom of the bucket and top stitch along the top fold.
- Fold down to create the contrasting top edge.
