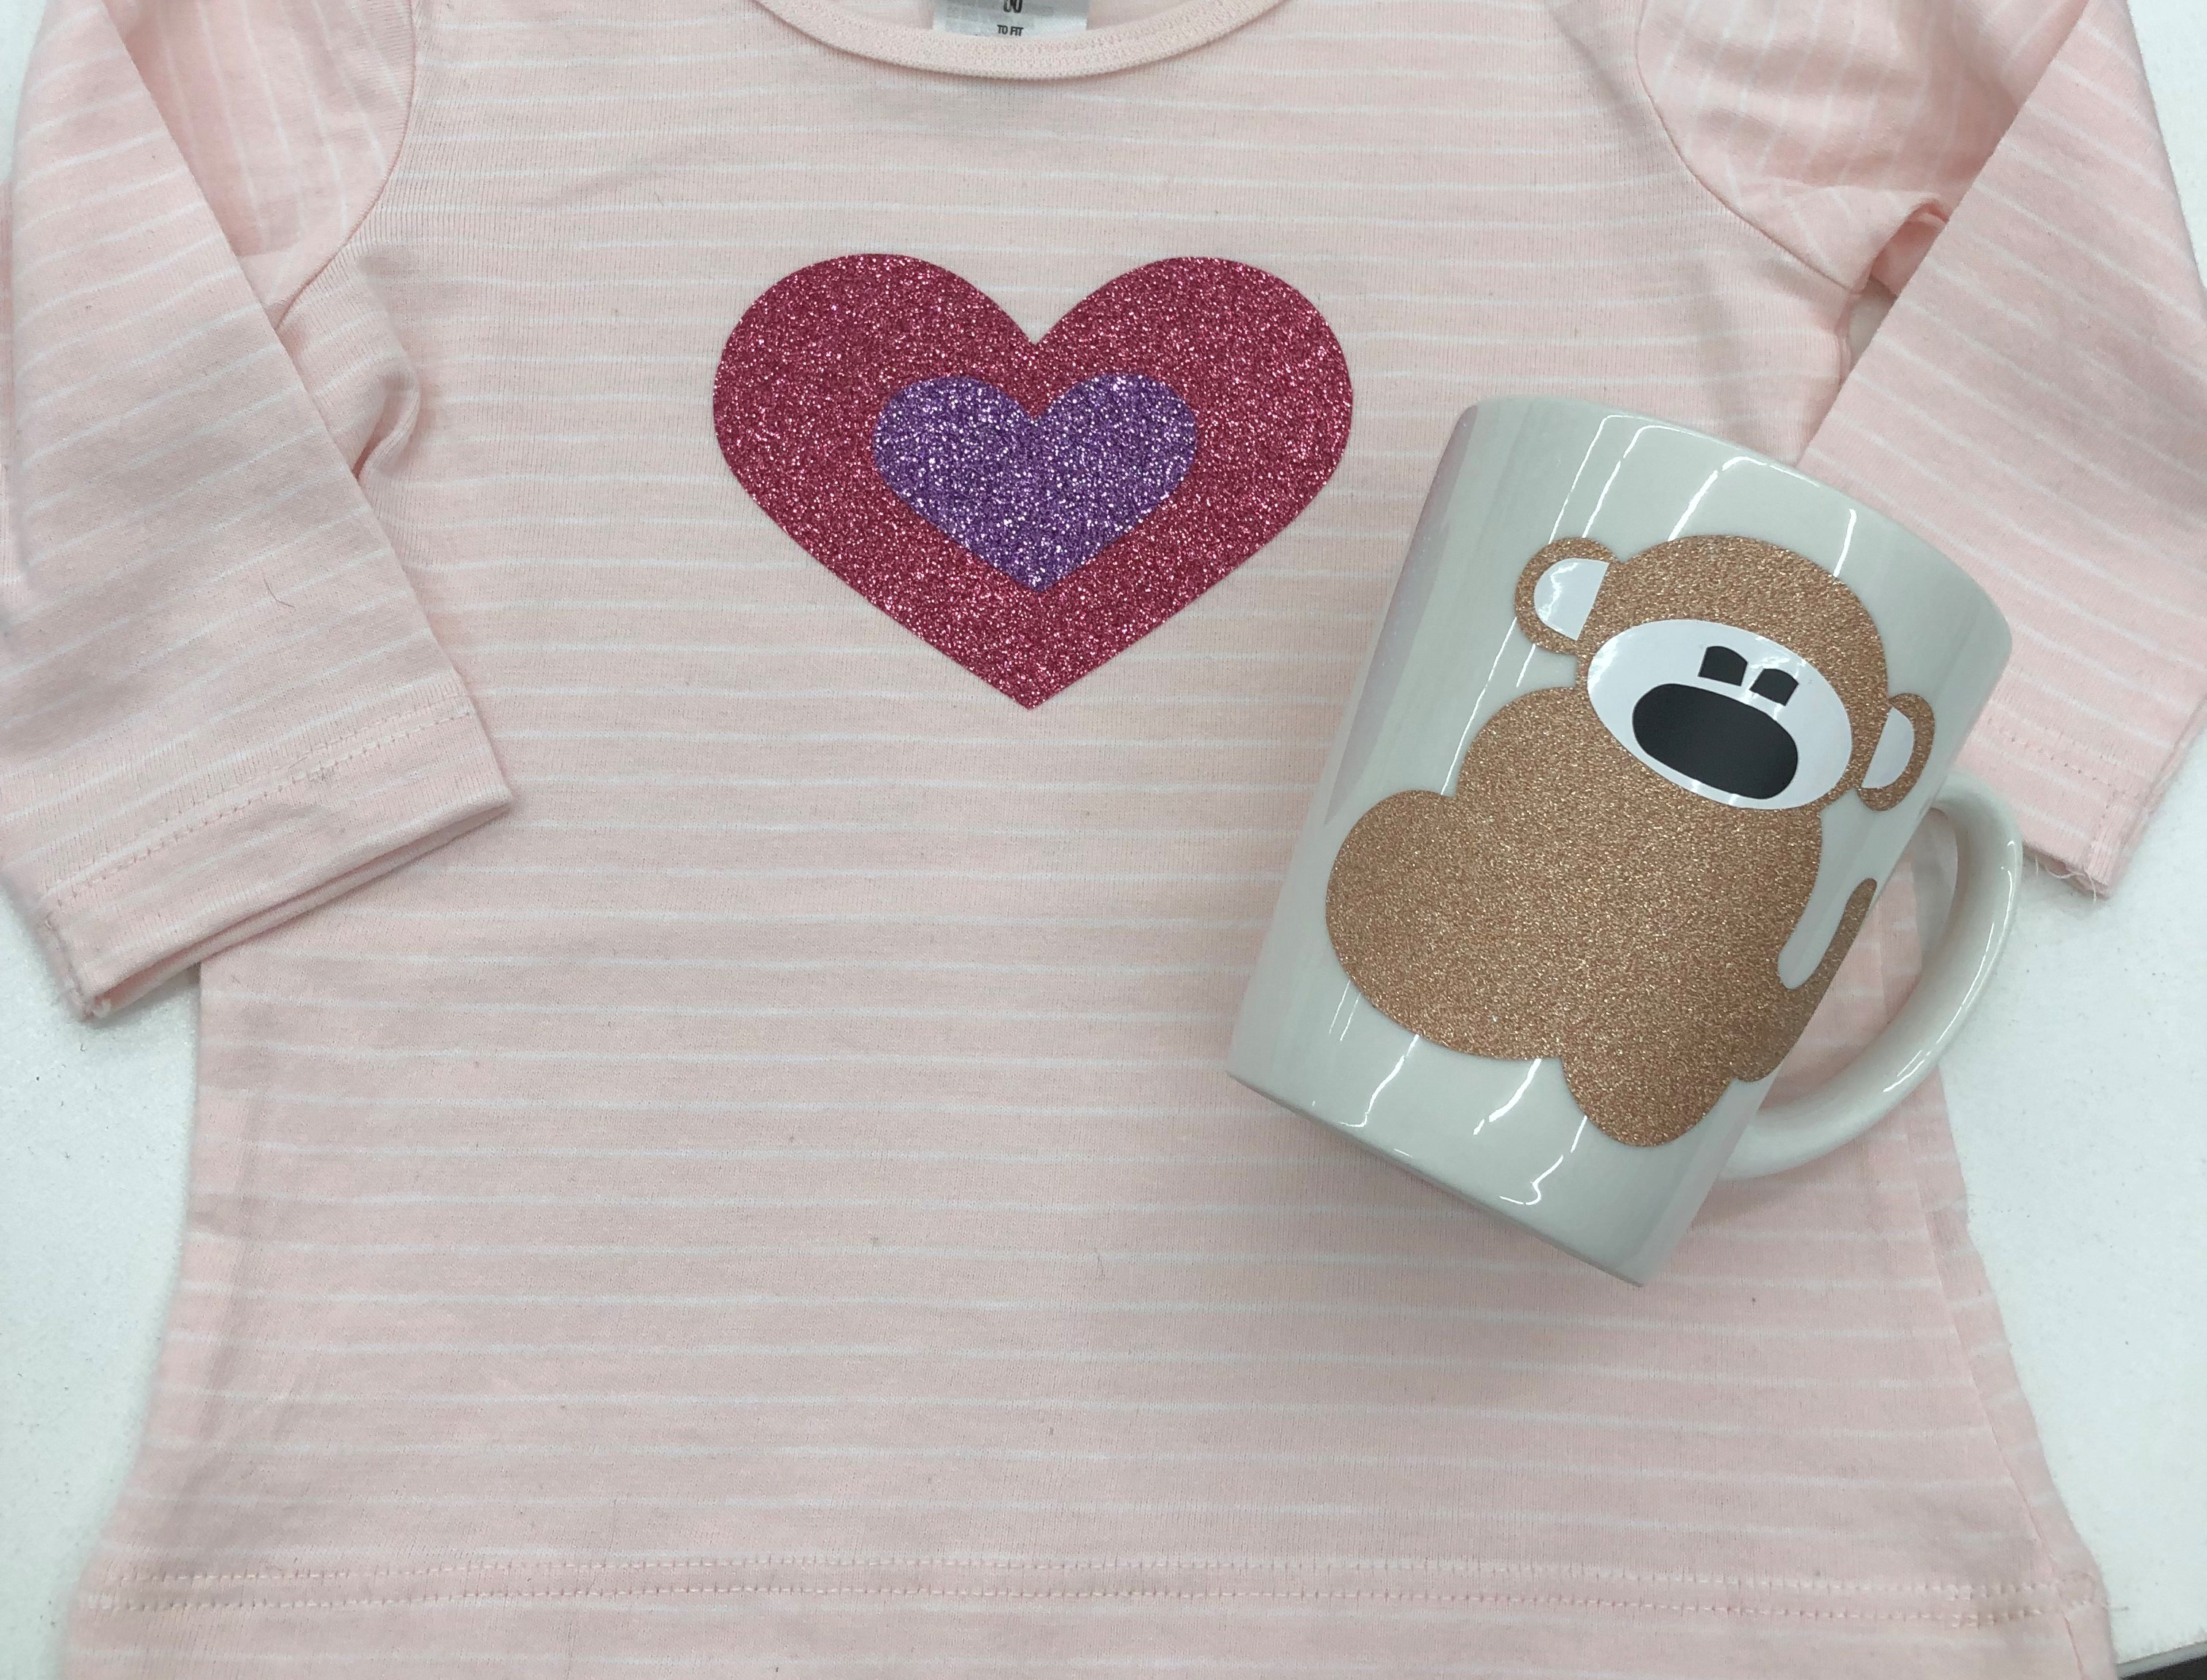
We all know we can cut fabric with our cutters, but do you know you can cut other textile mediums as well? Ricka Burns has fun with some permanent and heat transfer vinyl. Let’s just monkey around learn how easy it is to use! Perfect for those quick easy gifts.
Materials:
- AccuQuilt GO! Big, GO!, GO! Baby or GO! Me Fabric Cutter
- AQ55369 GO! Zoo Animals
- AQ55325 GO! Queens of Hearts
- AQ55333 GO! Owl
- AQ55137 GO! Cutting mat 6” x 6”
- Plain coffee mug
- Graphic free shirt.
- Permanent vinyl in black, white and glitter gold.
- Heat transferable vinyl in glitter pink and purple
- Tearaway
- Sewing machine
- Embroidery thread to match pink and purple glitter vinyl
- General sewing tools
Cutting Instructions:
- Using AQ55369 GO! Zoo Animals:
- Cut (1) Monkey in glitter gold permanent vinyl
- Cut (1) Monkey face in white permanent vinyl
- Cut (1) Monkey mouth in white permanent vinyl
- Cut (1) Monkey mouth in black permanent vinyl
- Using AQ55325 GO! Queen of Hearts:
- Cut (1) large heart in heat transferable pink vinyl
- Cut (1) smaller heart in heat transferable purple vinyl
- Using AQ55333 GO! Owls
- Cut (2) small circle in black permanent vinyl
Construction:
Just Monkeying Around Coffee Cup
- Clean, wash and dry the coffee cup.
- Remove the paper backing from the main Monkey body shape and press in place.
- Using the die packaging as a guide, remove the paper from the back of the white vinyl and press in place.
- Repeat the process for the black monkey mouth shape
- Place the two small circles on monkey face as eyes.
- Snip the white monkey mouth shape in exact half and place within the ears for definition
Congratulations on finishing your Just Monkeying Around Coffee Cup
Love my Heart Shirt
- Fold the shirt in half, lengthwise to find the centre front.
- Take the large pink glitter heart and align the centre of heart along the centre of front line of shirt at desired position.
- Iron in place. Remove clear top film
- Place the smaller purple glitter heart inside the pink, aligning centre lines. Iron in place and remove film.
Hint: Place baking paper over the complete area as to not burn the larger heart when ironing down. - Place tearaway stabiliser on the back of shirt behind the hearts.
- With a small zig zag, satin, blanket or motif stitch, sew around each shape. Alternatively, use the FREE GO! Queens of Heart embroidery design to embroider onto the shirt.
- Remove tearaway and wear to your hearts content.
