Say it with a smile, a wink or heart eyes! Mix and match the shapes from the GO! Emoji die to create tons of amazing faces with limitless personality. This project is perfect for all generations.
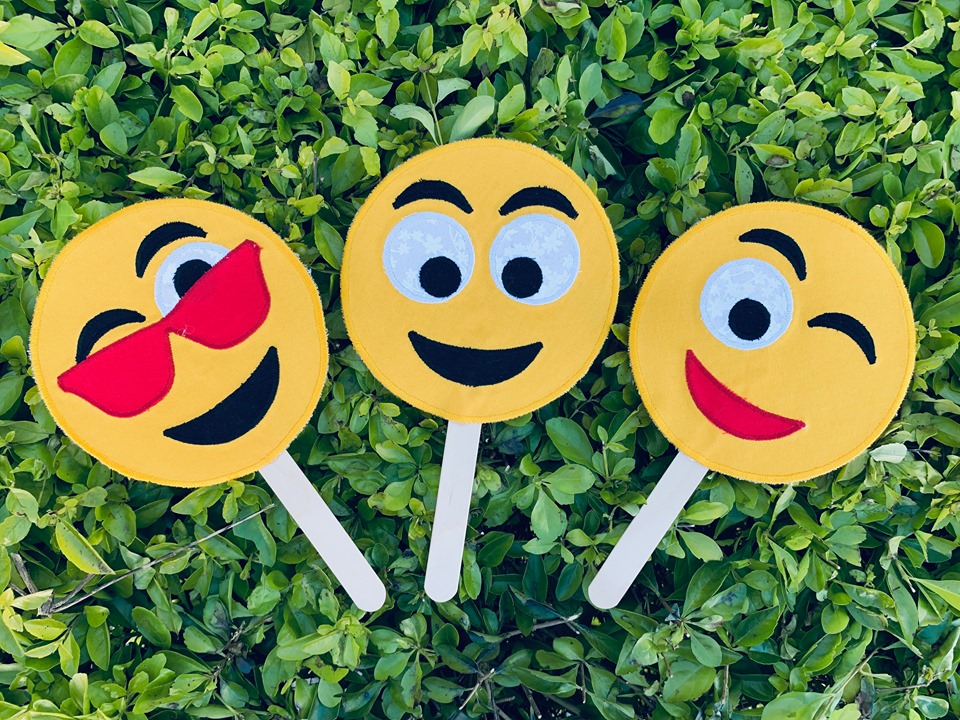
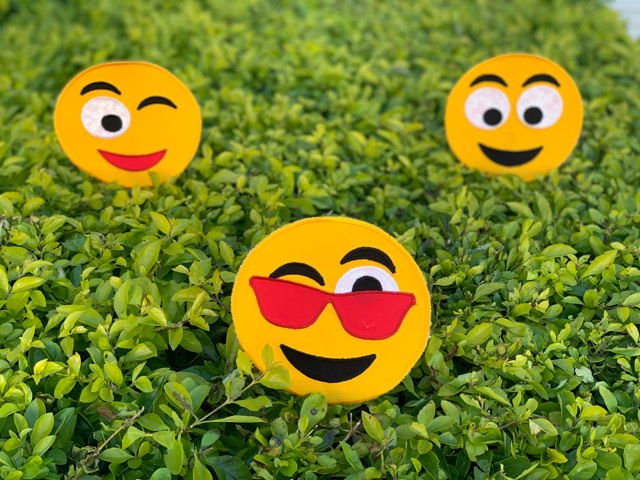
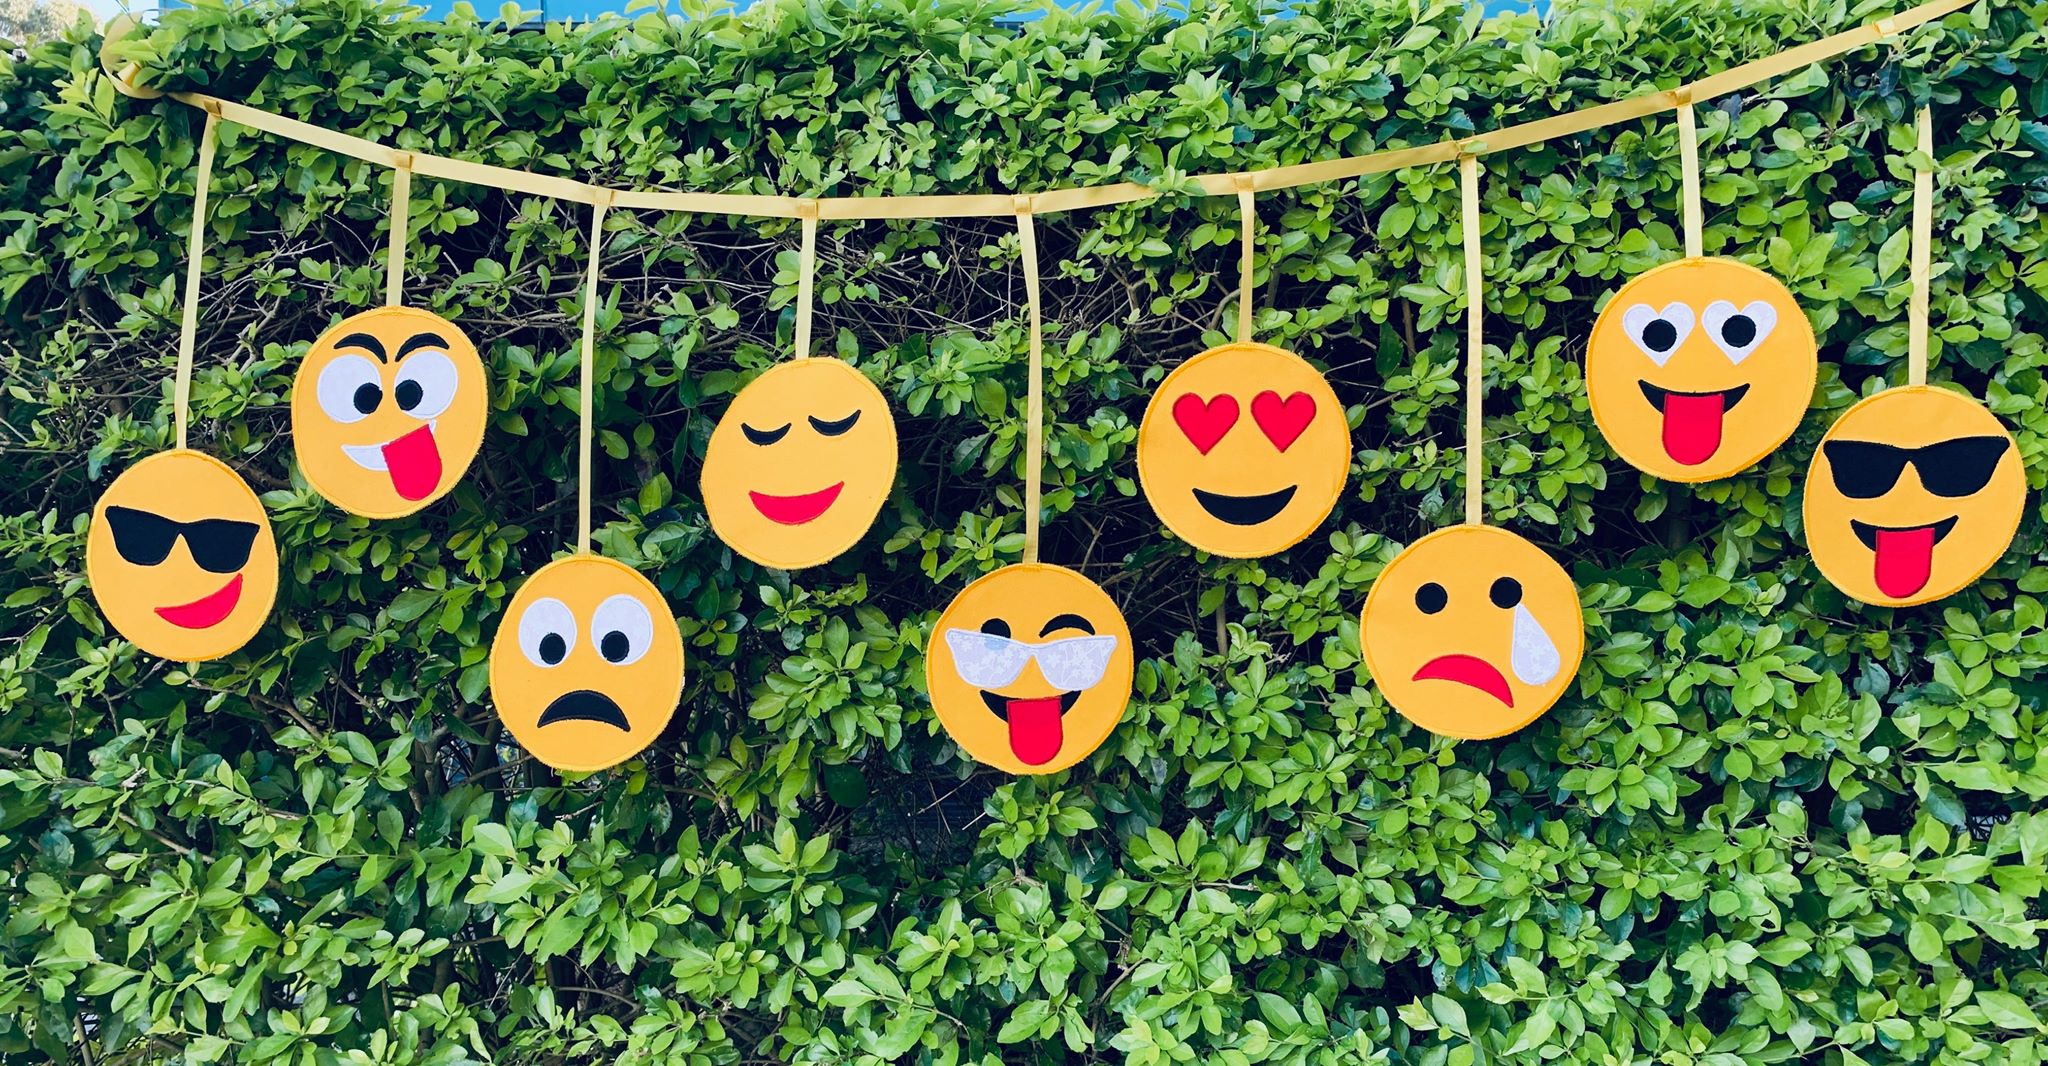
The instruction below includes the making of the Emoji’s Gone Wild Garland, and three fun faces props for some photo booth fun!
Materials:
- AccuQuilt GO! Big, GO!, GO! Baby or GO! Me Fabric Cutter
- AQ55191 GO! Emoji’s
- AQ55112 GO! Cutting Mat – 6” x 12”
- 60cm (24”) of yellow cotton fabric
- 20cm (8”) of black cotton fabric
- 20cm (8”) of red cotton fabric
- 20cm (8”) of white cotton fabric
- 1 metre (38”) of fusible web
- 1 metre (38”) of tearaway stabiliser (1m (38”) wide)
- 2 metres of 9mm (3/8”) yellow ribbon
- 4 metres of 12mm (1/2”) yellow ribbon
- 3 tongue depressors or similar sticks.
- Hot glue gun.
- Embroidery threads to match fabrics
- Sewing machine and general sewing equipment
Cutting Instructions:
- From yellow fabric. Cut 4 – 15cm (6”) by the width of fabric (WOF). Apply fusible web to 2 of the 15cm (6”) by WOF. Cut 12 x circles with fusible web and 12 circles without.
- Apply fusible web to the back of the red, black and white fabric. Cut out a series of shapes from the bottom of the die, including sunglasses, eyes, tears, love hearts and tongues.
- Cut 5 – 18cm (7”) by WOF of stabiliser. Crosscut into 18cm (7”) squares.
- Using 9mm (3/8”) yellow ribbon, cut 5 pieces 25cm (10”) in length and 4 pieces 13cm (5”) in length
Sewing Instructions:
This fabulous die allows you to have loads of fun creating different faces to reflect your mood. Below is a guide to some ideas, but feel free to make and create your own!
NOTE: Each face has (1) large yellow circle with fusible web attached and (1) without.
 | 1. Smirk & Sunglasses Face.Shapes required: (2) large yellow circles, (1) black sunglasses, (1) red mouth. |
 | 2. Crazy Face.Shapes required: (2) Large yellow circles, (2) black eyebrows, (2) medium white circles, (2) small black circles, (1) white mouth, (1) red tongue. |
 | 3. Oh no face.Shapes required: (2) large yellow circles, (2) medium white circles, (2) small black circles, (1) black mouth. |
 | 4. Blushing face.Shapes required: (2) large yellow circles, (2) black eyebrows, (1) red lips. |
 | 5. I’m cool face.Shapes required: (2) large yellow, (2) medium white circles, (2) small black circles, (1) black mouth. |
 | 6. Love heart face.Shapes required: (2) large yellow circles, (2) red love hearts, (1) black mouth. |
 | 7. Crying face.Shapes required: (2) large yellow circles, (2) small black circles, (1) white teardrop, (1) red mouth. |
 | 8. Cheeky Face.Shapes required: (2) large yellow circles, (2) white love hearts, (2) small black circles, (1) black mouth, (1) red tongue. |
 | 9. Sassy face.Shapes required: (2) large yellow circles, (1) black sunglasses, (1) black mouth, (1) red tongue. |
 | 10. Happy Face.Shapes required: (2) large yellow, (2) black eyebrows, (2) medium white circles, (2) small black circles, (1) black smile. |
 | 11. Inqusitive faceShaped required: (2) large yellow circles, (2) black eyebrows, (1) medium white circle, (1) small black circle, (1) red sunglasses, (1) black mouth. |
 | 12. Winky Face.Shapes required: (2) large circles, (2) black eyebrows, (1) medium white circle, (1) small black circle, (1) red mouth. |
Garland
- For each Emoji, arrange the eyes, mouth and other items as desired on the large yellow circle with fusible. Remove paper from fusible of eyes etc, (DO NOT remove fusible from yellow circles) and iron in place.
- Remove fusible from the back of yellow circles and place ( DO NOT IRON yet) on a 7” square piece of stabiliser.
- Using coordinating thread, sew around each shape with a satin, zig zag, blanket or motif stitch to applique onto the yellow circle.
- Alternatively, use the FREE machine embroidery download design for use with embroidery machines.
- Remove all tearaway. Align the second yellow circle exactly to the back of the first. Iron in place.
- With matching thread in the bobbin, and tearaway under the circle, applique the circles together with a wide satin stitch.
- Remove all tearaway.
Technique Tip: Press Emojis using spray starch to add some stiffness and prevent curling or sagging.
- Using 9 of the faces, arrange in an order to compliment each other.
- Attach a piece of 25cm (10”) ribbon to the first Emoji, a piece of 13cm (5”) to the second Emoji and so forth, until all 9 Emoji’s have ribbon.
- Find the centre of the 12mm (1/2”) ribbon. Mark. Sew your middle Emoji to this position. Measure out 13cm (5”) on each side and stitch the next two Emojis on each side. Repeat until all Emojis are attached to the ribbon.
Emoji Photo props

- Find the centre of the Emoji face. Using a hot glue gun, apply glue to the tongue depressor and attach to the centre position of the Emoji.

Congratulations on finishing your Emoji’s Gone Wild project!
Don’t forget to take lots of photos and tag #accuquilt_australia to share your designs
