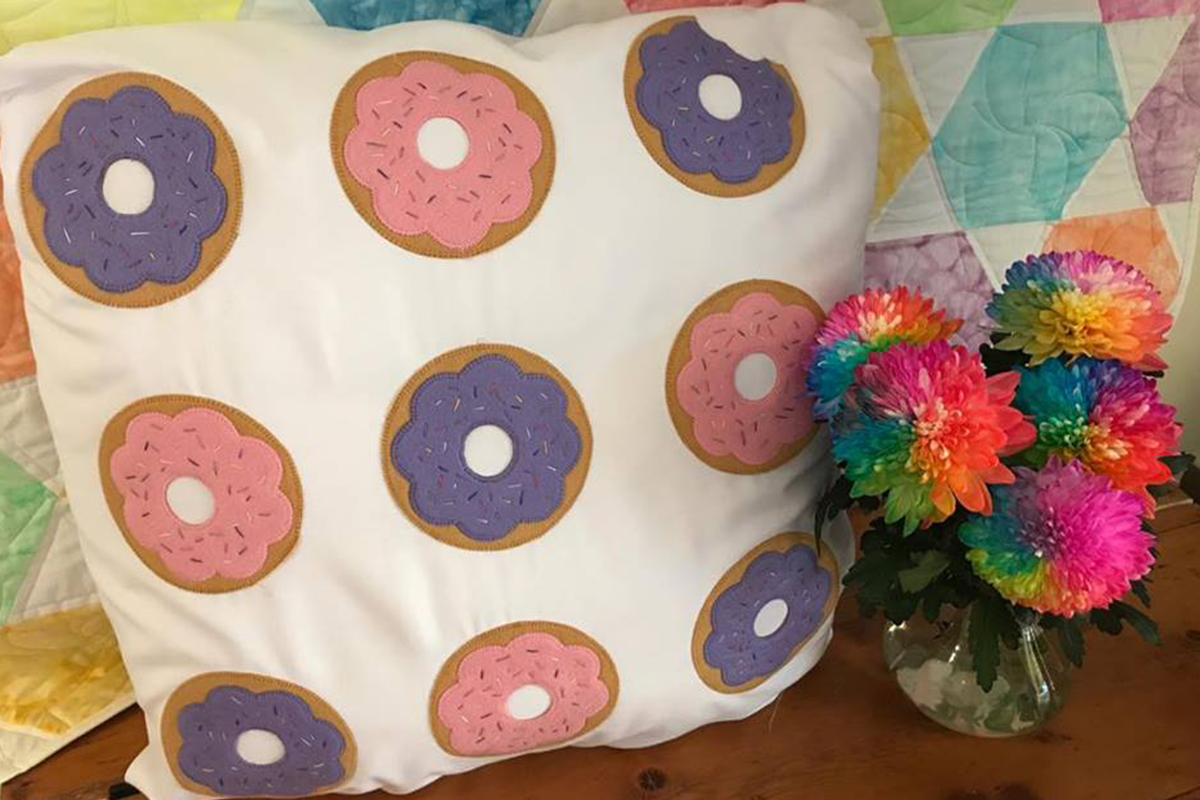
Create this sweet treat or two, but donut eat it. Brighten up your home with this Donut Delight cushion.
Materials
- GO! Big or GO! Fabric Cutter
- AQ55382 GO! Rose of Sharon #2 by Sharon Pederson
- AQ55012 GO! Circle 2”, 3”, 5”
- AQ55137 GO! Cutting Mat 6” x 6”
- 80 cm square white fabric
- 35cm of Brown felt, by the metre
- 15cm of Purple felt, by the metre
- 15cm of Pink felt, by the metre
- 70cm of fusible web
- 30cm of tearaway
- 1.5m of backing fabric
- Machine embroidery threads to match felt
- 6 x stranded cotton in various colours for sprinkles
- Teflon pressing met
- Sewing machine with general sewing tools
Cutting Instructions
- Apply fusible webbing to the wrong side of the brown felt -Cut 2 x 6” of width of fabric (WOF), cut 9 x 5” circles from AQ55012 GO! Circles 2”, 3”, 5”
- Apply fusible web to the wrong side of the pink felt -Cut 4 x 4 ½” flowers from AQ55382 GO! Rose of Sharon #2 by Sharon Pederson
- Apply fusible web to the wrong side of the purple felt -Cut 5 x 4 ½” flowers from AQ55382 GO! Rose of Sharon #2 by Sharon Pederson
- From the backing fabric – two squares 26 ½” x 34 ½” (68cm x 88cm)
Sewing Instructions
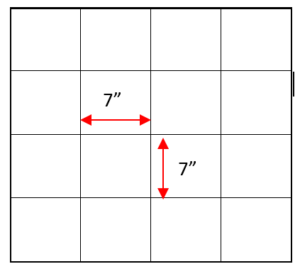
- Fold the white fabric in half lengthwise and crosswise to find the centre position.
- Measure 7” out on both sides of both lines to find centre position of donuts. See illustrations below.
- Remove fusible web from back of purple felt flower, Centre on top of brown circle and iron with a pressing mat. Repeat for all other circles and flowers.
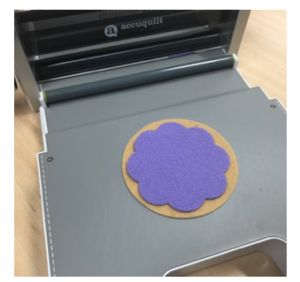
- Fold the circle flower combo in half and in half again to find the centre position.
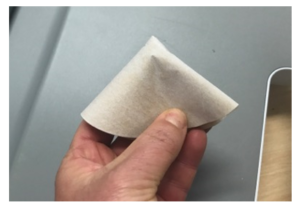
- Lie the centre of the circle up with the centre of the small circle on AQ55382 GO! Rose of Sharon #2 by Sharon Pederson. Cut out centre hole, one donut at a time.

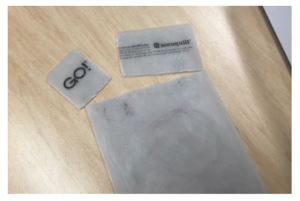
- Arrange 8 of the donuts onto background fabric at marked lines, centring the donuts. Iron in place with pressing mat..
- Take the last donut and arrange on die board as shown below. Cut a ‘bite into the donut.

- Arrange donut in last space. Iron in place with a pressing mat.
- Place tearaway at the back of each applique. Using coordinating thread, machine stitch around the outside of each donut. I chose a buttonhole stitch, although you could satin stitch or decorative stitch.
- Once you have completed every donut, remove tearaway.
- Using the stranded cotton, hand sew straight lines of different lengths and colours on top of the coloured felt. This will be the sprinkles.
- Optional: you may choose to quilt the top at this stage by adding wadding and extra backing fabric and quilting as desired.
- Trim the white backing fabric to 26 ½” x 26 ½” (68cm x 68cm).
- Using one piece of the backing fabric, fold a 1” seam along the width of the fabric. Press. Fold again and press. Top stitch this fold down. Repeat for second piece of fabric.
- With pillow front right side up, layer the two pillow back rectangle on top, matching al raw edges, as shown in image below. The folds will be in the middle of the pillow.
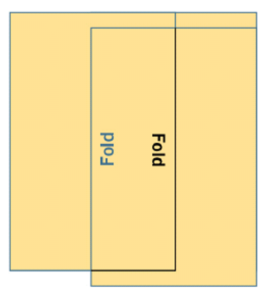
- Using a ¼” (6mm) seam, stitch completely around the square. Clip corners and turn inside out.
- Insert pillow form
Congratulations on finishing your Donut Delight Cushion! 