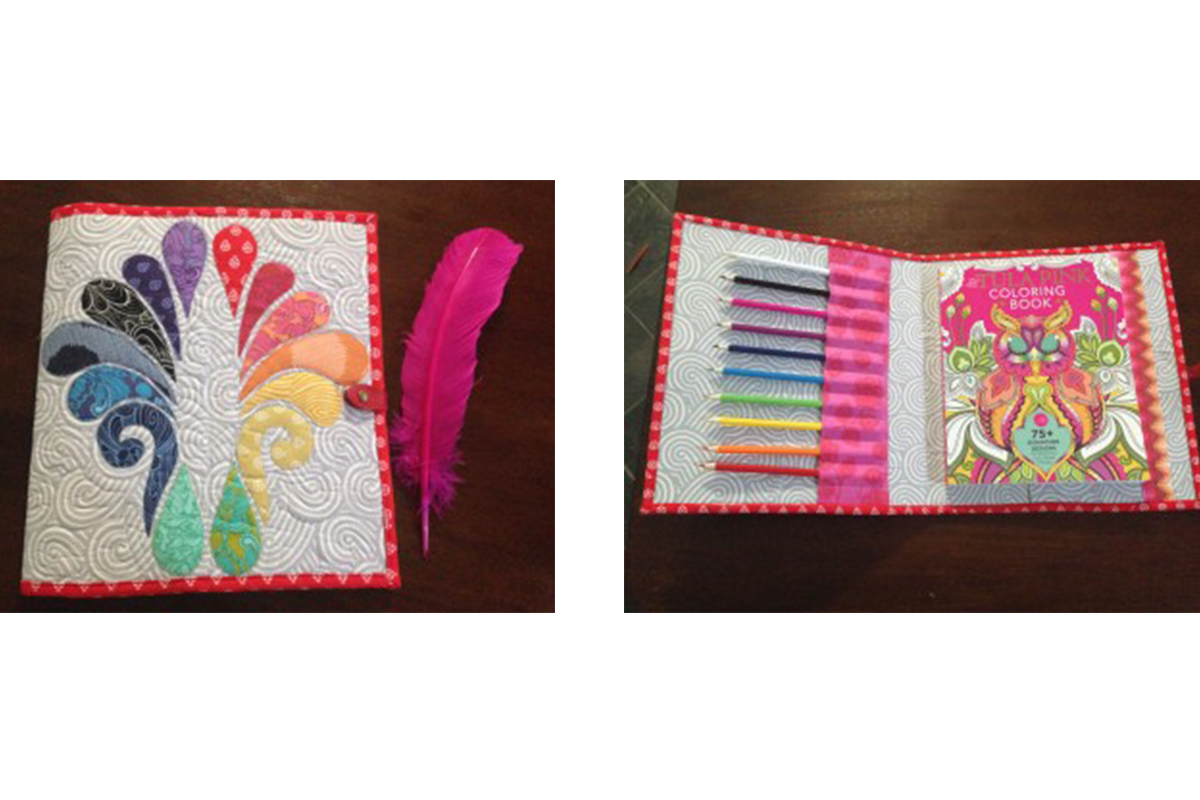
“Doesn’t everyone have an Adult Colouring Book for stress relief and relaxation! Of course we do…. So I have designed this great folder to store and carry my book and pencils around in. Tula Pink fabrics for my Tula Pink Colouring Book !!”
Materials
- GO! Big, GO! or GO! Baby Cutter
- AQ55087 GO! Heather Feather #1 by Sarah Vedeler
- AQ55017 GO! Strip Cutter – 2 ½ in (or AQ55014)
- AQ55112 GO! Cutting Mat 6in x 12in
- AQ55113 GO! Cutting Mat 10in x 24in (or AQ55138 GO! Cutting Mat 6in x 24in)
- Assorted large scraps of bright coloured fabrics for applique and internal pencil holder
- 1m (1 ¼ yard) grey background fabric
- 10cm (5in) strip of red fabric for binding
- 40cm (16in) fusible lightweight wadding (Pellon)
- 30cm square (12in) tearaway stabiliser
- 1 ½m (1 2/3 yard) double sided fusible webbing
- 56cm x 30cm (22in x 12in) inn-spire™ heat set mouldable stabiliser
- Jeans/Denim sewing machine needles
- A4 sheet of paper
- Fabric marking chalk
- 9cm leather snap closure
- Superglue
Cutting Instructions
- Using the assorted bright coloured fabric scraps, cut scraps large enough to cover each of the shapes required and press double sided fusible webbing to the back.
- Cut 14 shapes using AQ55087 GO! Heather Feather #1 by Sarah Vedeler (making sure to cut matching left and right handed sets)
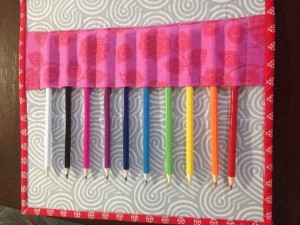
- 15cm x 32cm (6in x 12 ½in) rectangle for pencil holder
- 5cm x 32cm (2in x 12 ½in) strip for internal book holder.
- From the grey background fabric
- Cut one 61cm x 31cm (24in x 14in) rectangle for front
- Cut one 56cm x 32cm (22in x 12 ½in) rectangle for inside
- Cut one 25cm x 32cm (10in x 12 ½in) rectangle for internal book holder.
- From the red binding fabric
- Using AQ55017 (or AQ55014) cut two 5cm (2 ½in) strips
- From the fusible lightweight wadding
- Cut one 61cm x 31cm (24in x 14in) rectangle for front
- From the double sided fusible webbing
- Cut two 56cm x 30cm (22in x 12 ½in) rectangles
- From the inn-spire™ heat set mouldable
- Cut one 56cm x 30cm (22in x 12 ½in) rectangle
Sewing Instructions

- Die cut the feather design out onto the A4 sheet of paper and use this as a template to mark where each feather shape should be positioned on the 24in x 14in grey background fabric folder front. Using the photograph of the finished folder as a guide, mark the position of each feather shape with the fabric marking chalk. Remove the backing paper and press each shape in place using a hot dry iron.
- Lay tearaway behind the applique area, then with matching thread and a small buttonhole stitch, neatly sew around each of the shapes. Tear away excess stabiliser.
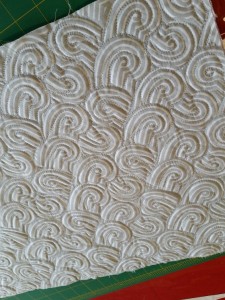
- Use a warm iron to press the same size fusible lightweight batting rectangle to the back of the appliqued front. Using a matching thread quilt as desired. I quilted a feather design in the centre of the applique, echoed around the applique and followed the print design of the fabric to quilt the rest of the folder.
- Once quilted, trim back to a 22in x 12 ½in rectangle. Fuse the same size double sided fusible webbing to the back of the quilted front, then press this to one side of the rectangle of inn-
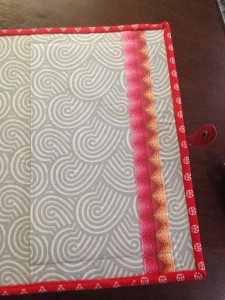
- Fold the 10in x 12 ½in grey background fabric in half to widthways and topstitch close to the fold along the length. Position this book holder so the topstitched fold is 7in from the right hand edge from the 22in x 12 ½in grey background inner rectangle. Stitch along the top and bottom edges to hold in place.
- Press a ¼in hem on both long edges of the 2in x 12 ½in bright coloured strip. Stitch in place to hide the raw edge of the book holder. Insert the colouring book and mark a stitching line just above the top and just below the bottom of the book cover. Make sure you centre the book. Remove the book then stitch along the marked line. This stitching holds the book in place within the folder.

- Press the remaining rectangle of double sided fusible webbing to the back of the completed inner rectangle, then remove the backing paper and press to the other side of the folder.
- Using a jeans/denim needle in your sewing machine, join the two binding strips together using a diagonal seam then press the binding strip in half lengthways. Starting on one of the short sides and stitching from the inside, attached the binding to the edge of the folder mitring at each corner as you go. Stop 8in from the end, then join the ends together and then continue until the binding is attached.
- Fold the binding over to the right side then topstitch in place with matching thread.
- Use a hairdryer or iron to heat up the folder so that you can fold it in half. Once it has cooled it will hold its shape.
- Position the snap closure on to the front and back of the folder, then use superglue to hold in place.

