Scrap Buster Blocks is a series of scrap quilt block tutorials that are designed to bust through your scraps with the Accuquilt GO! QUBE Mix & Match block sets. Grab your scrap buckets/tubs/drawers, and let’s make some scrappy quilt blocks!
The great thing about the GO! QUBE Mix & Match sets is that while I’m using the 8” Block set for my quilt blocks, you could just as easily use any size QUBE that you have as the shape numbers are all the same! You will just need to adjust the size of your fabric cuts accordingly.
It’s also important to note that these blocks are made at 150% of the Qube size. That means that the finished quilt block will be 150% bigger than the size of the Qube set:
- 6” Qube – 9” (finished) blocks
- 8” Qube – 12” (finished) blocks
- 9” Qube – 13.5” (finished) blocks
- 10” Qube – 15” (finished) blocks
- 12” Qube – 18” (finished) blocks
These instructions are written a little differently to normal so that you can use whatever scraps you might have, regardless of the size of the piece of fabric – if it covers the die you need, even if it’s just one small square or half-square triangle, you’re good to go. This is why the cutting instructions tell you how many you need from each die in total.
Materials:
- Assorted prints and background fabrics
- AccuQuilt GO! Big, GO! Cutter or GO! Baby Cutter Fabric Starter Set
- AQ55776 GO! QUBE Mix & Match – 8” Block set:
- Shape 1 Square – 4” Finished
- Shape 5 Half Square Triangle – 2” Finished
- Shape 6 Square on Point – 2 ¾” Finished
- AQ55137 GO! Cutting Mat 6″ x 6″
Cutting Instructions:
From print fabrics:
- Using Shape 3, cut four Half Square Triangles (HST)
- Using Shape 5, cut four Half Square Triangles (HST)
From background fabrics:
- Using Shape 1, cut four squares
- Using Shape 3, cut four Half Square Triangles (HST)
- Using Shape 6, cut one Square on Point
Sewing Instructions:
NOTE: All seams are ¼“, (6mm). Press the seams open unless otherwise specified
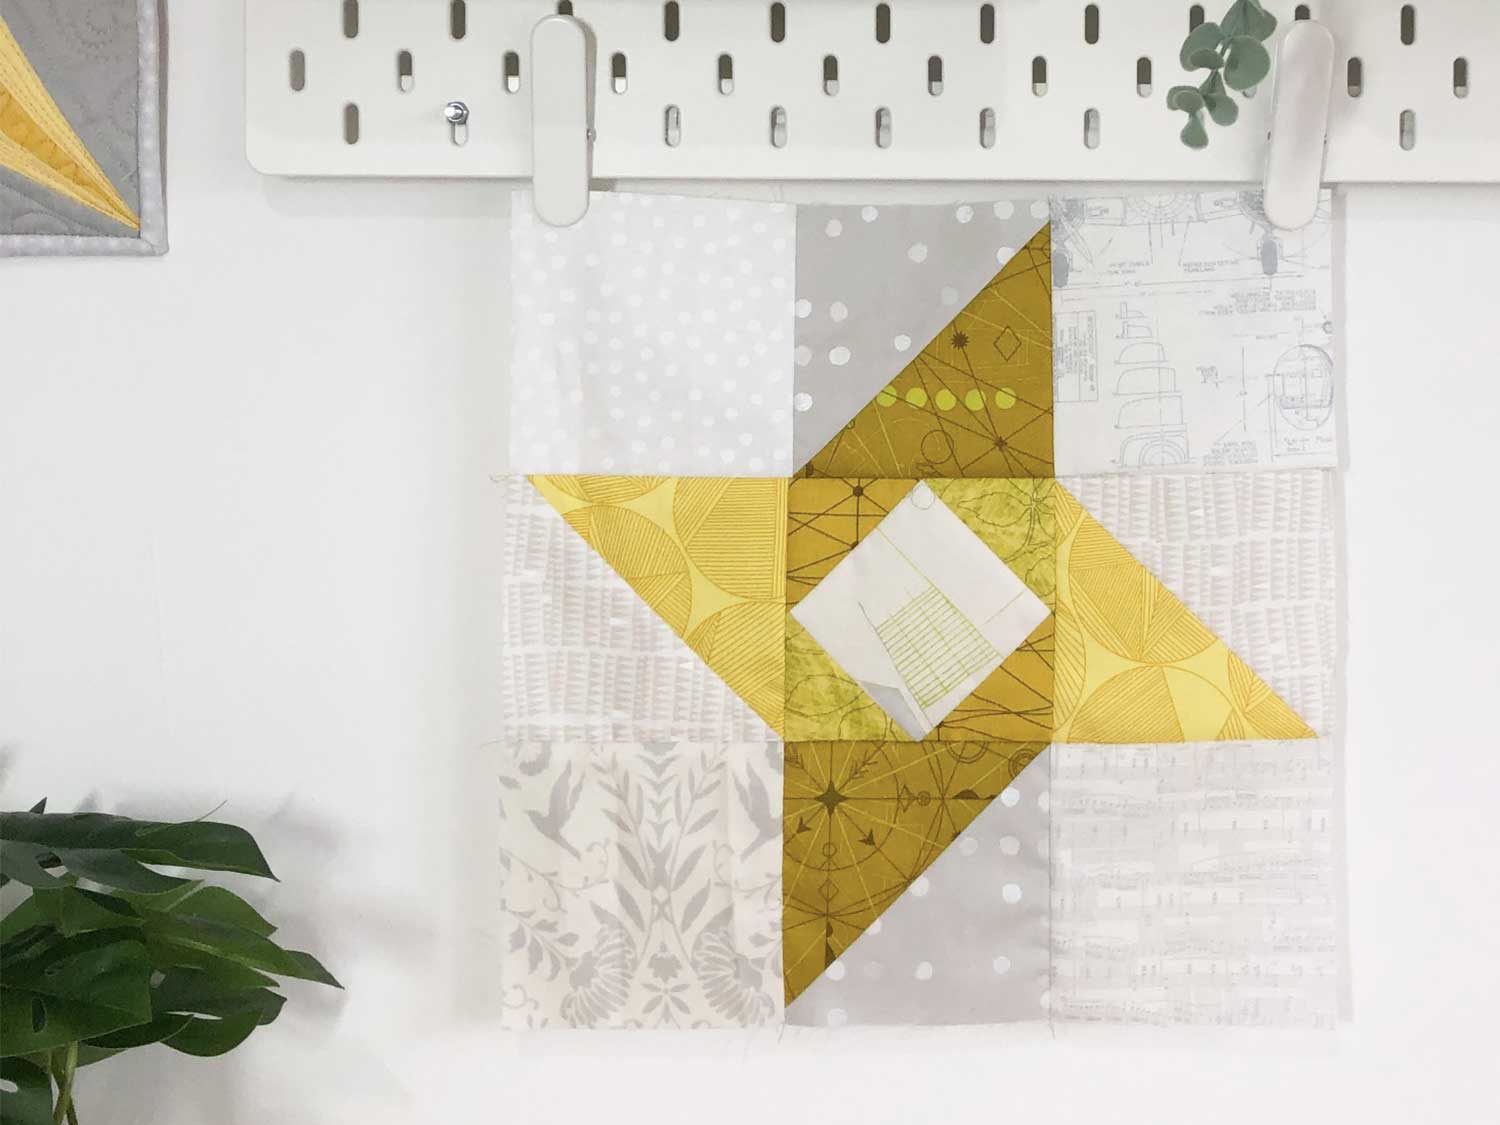
- Sew a print HST (Shape 5) to each side of the background square (Shape 6). Press the seams open. Make four.
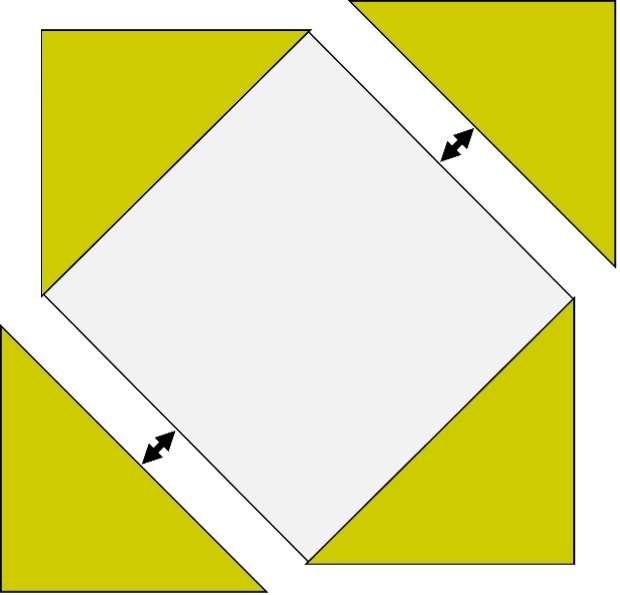
- Sew one background HST (Shape 5) to a print HST (Shape 5). Press. Make four.
- Arrange the units and remaining background squares (Shape 1) to create the block layout, and sew into rows. Press seams open.
- Sew the rows together. Press seams open.
Outside The Block
The last part of these tutorials for Scrap Buster Blocks will include some various quilt layout options to inspire you to think outside the box (or block!) of how you can use these blocks to create fun quilts.
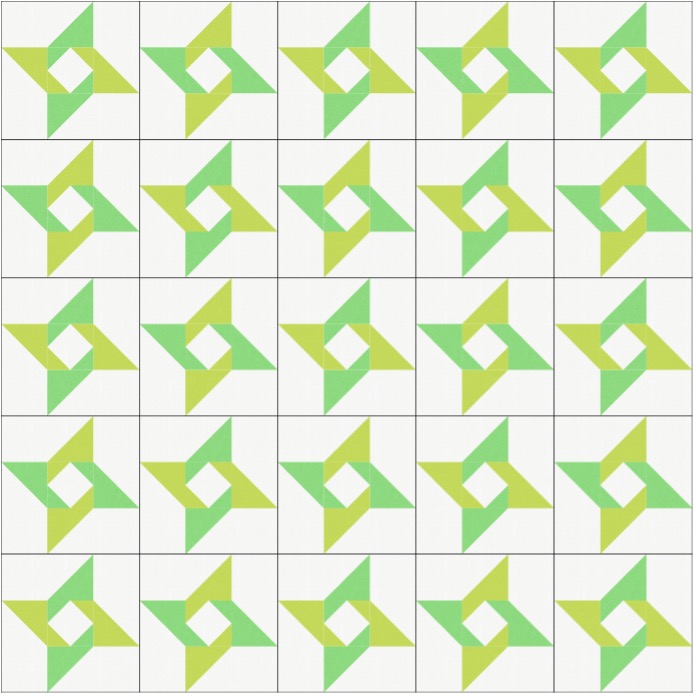
For this standard grid layout option, I rotated every second block so that the prints in each star point alternates. If you’re making a quilt with a limited colour or fabric selection, rotating blocks is a great way to add some extra visual interest and movement to your quilt top.
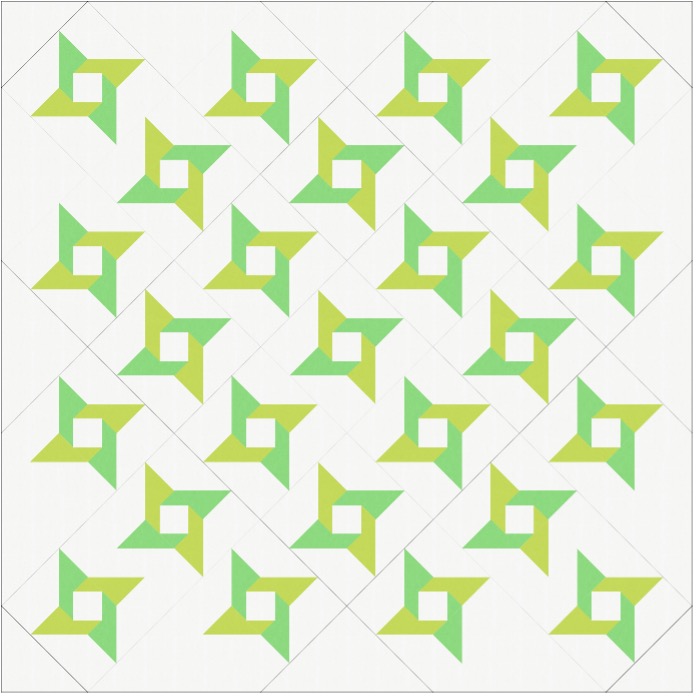
When you turn the blocks on point, the blocks look quite different, as the different angles of the star are emphasised. You can use the GO! Setting Triangles to help accurately cut the corner and edge triangles, although do remember that this pattern is for blocks that are 150% of the Qube size, so for these 12″ blocks made from the 8″ Qube, you will need the 12″ Setting Triangles die.
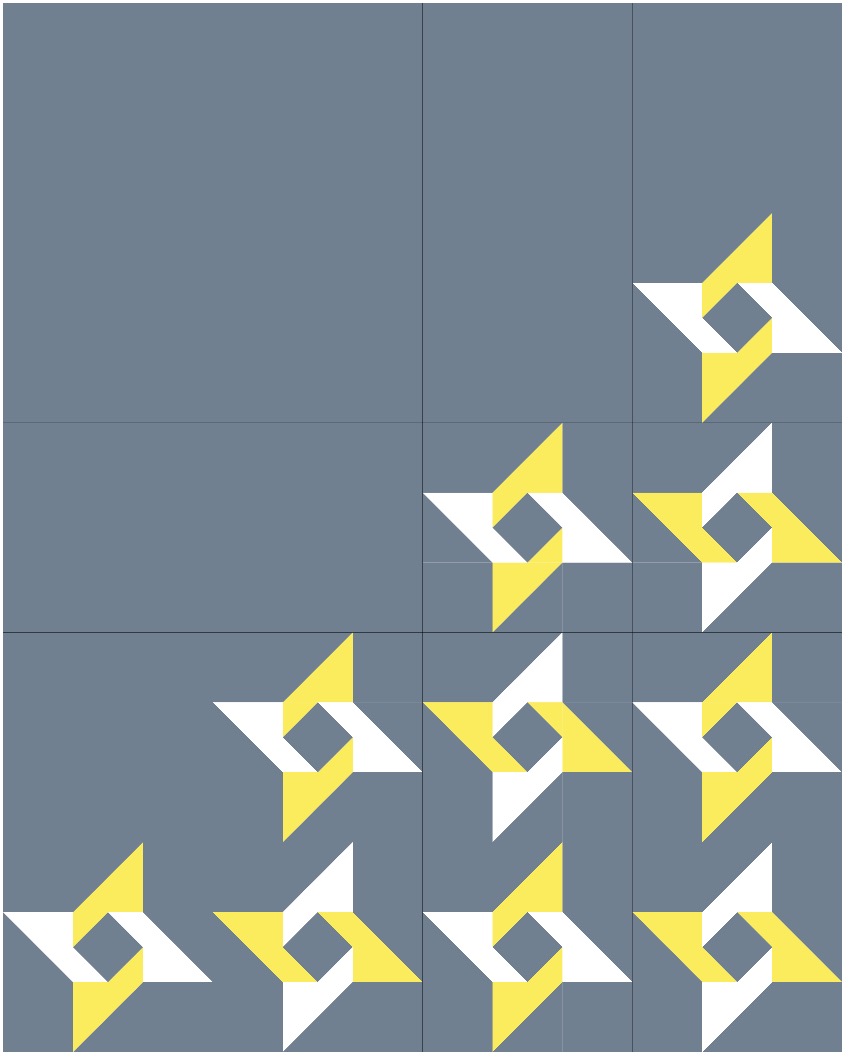
And lastly, I had a play with a more modern arrangement of the blocks, inspired by the block’s name – twinkle, twinkle, little star! By using large strips of background fabric, or large squares the same size as the blocks, you can create this offset arrangement. Wouldn’t it make the sweetest baby quilt?!
Beautiful, fun block. Thank you!1