Stellar is a Block Of The Month sampler quilt that has been exclusively designed to use with the Accuquilt GO! QUBE Mix & Match block sets. The great thing about the GO! QUBE Mix & Match sets is that while I’m using the 8” Block set and 8” Angles Companion set for my pattern sample, you could just as easily use any size QUBE that you have as the shape numbers are all the same! You will just need to adjust the size of your fabric cuts accordingly.
I am a big fan of star quilt blocks, but this time, I decided to step outside the comfort zone and make a space-inspired quilt design that doesn’t just include stars. The quilt finishes at 32” x 42” using the 8” QUBE (26” x 34” with the 6” QUBE; 35” x 46” with the 9” QUBE; 44” x 58” with the 12” QUBE).
I’m using a range of scraps within a specific colour palette of pink, aqua and yellow, with blues for the background, which is helping to just slightly empty my scrap bins! I have written the pattern for three colours, with a recommendation for 4 fat quarters (or equivalent) for each colour so that you can get a mix of prints in each block.
Quilt finishes at 32” x 42”; individual blocks should measure 8.5” x 8.5”.
Materials:
- AccuQuilt GO! Big, GO! Cutter or GO! Baby Cutter Fabric Starter Set
- AQ55776 GO! QUBE Mix & Match – 8” Block set
- AQ55789 GO! QUBE Mix & Match – 8” Companion set – Angles
- AQ55137 GO! Cutting Mat 6″ x 6″
- 12 fat quarters (4 per colour)
- 1.25m background fabric
- 35cm binding fabric
- 1.4m backing fabric
- 100cm x 120cm batting
- Rotary mat, cutter and ruler
- General sewing equipment
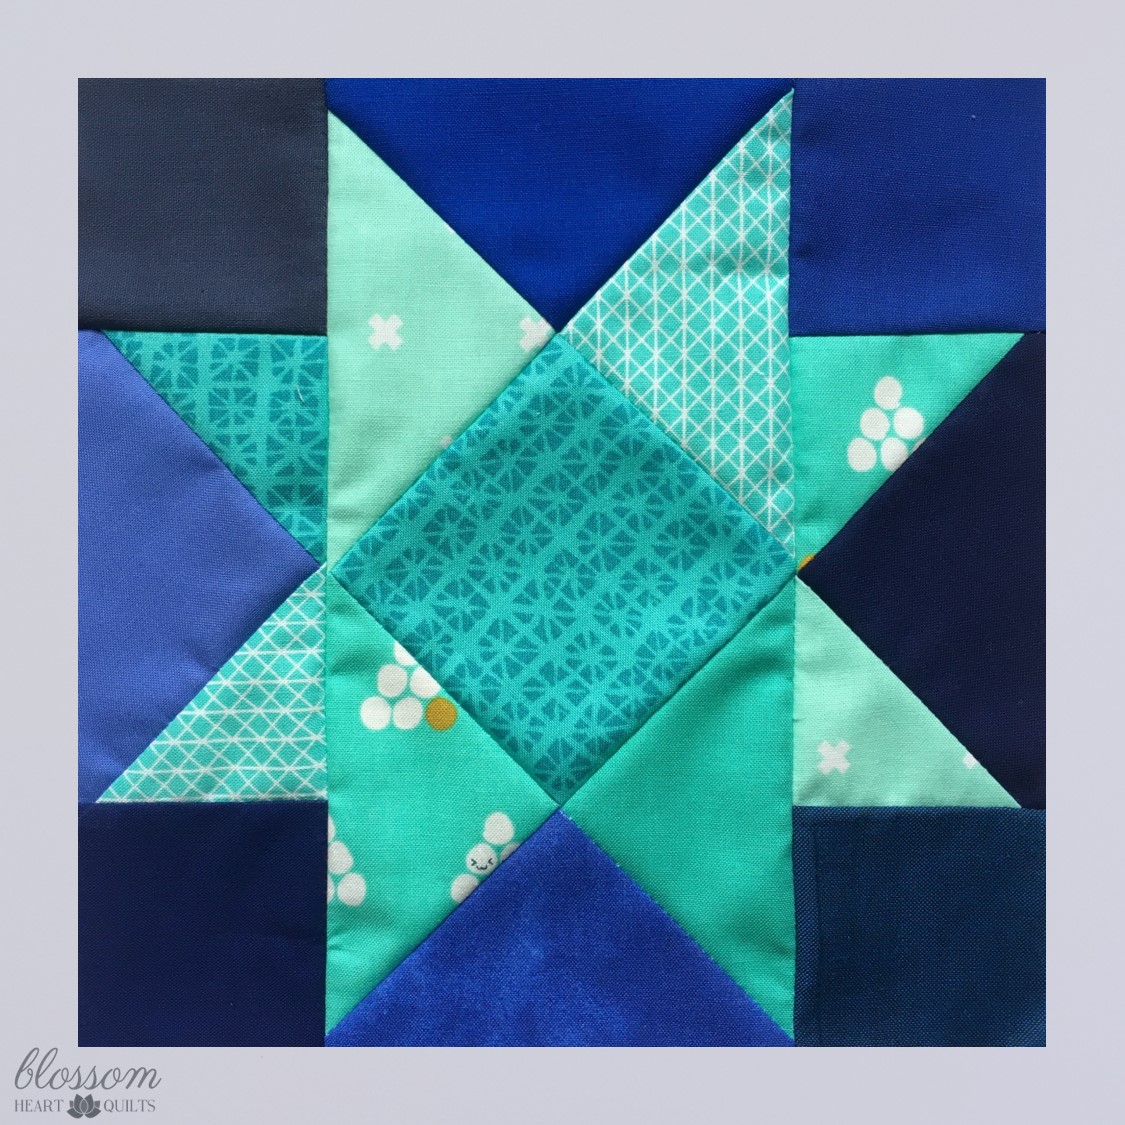
Block 12 Materials:
- Shape 2 Square – 2” Finished
- Shape 4 Quarter Square Triangle – 4” Finished
- Shape 5 Half Square Triangle – 2” Finished
- Shape 6 Square On Point – 2 ¾” Finished
- 4 fat quarters
- 5 ½” x WOF background fabric
Cutting Instructions:
- From print fat quarters:
- Cut one 5 ½” x 5 ½” square
- Using Shape 4, cut four Quarter Square Triangles (QST)
- Cut two 3” x 3 ¾” rectangles
- Using Shape 5, cut four Half Square Triangles (HST)
- Cut one 3 ¾” x 3 ¾” square
- Using Shape 6, cut one Square On Point
- Cut one 5 ½” x 5 ½” square
NOTE: Keep all remaining fabric/shapes as you may be able to use it later in the quilt.
Sewing Instructions
NOTE: All seams are ¼“, (6mm), unless otherwise specified
- Sew one print QST (Shape 4) to one background QST (Shape 4). Press seams open. Make two.

- Sew one print QST to one edge of the print Square (Shape 6). Sew remaining print QST to the opposite edge of the Square. Press seams open.

- Sew one unit from step 1 to each edge of the unit from step 2. Press seams open.

- Sew one print HST (Shape 5) to a background QST (Shape 4). Sew another to the remaining edge to create a flying geese unit. Press seams towards the QST. Make two.

- Arrange the units and background squares (Shape 2) to create the block layout. Sew the flying geese and background squares into rows. Press seams open.
- Sew the rows together. Press seams open.
Look forward to making this quilt. Thankyou for sharing