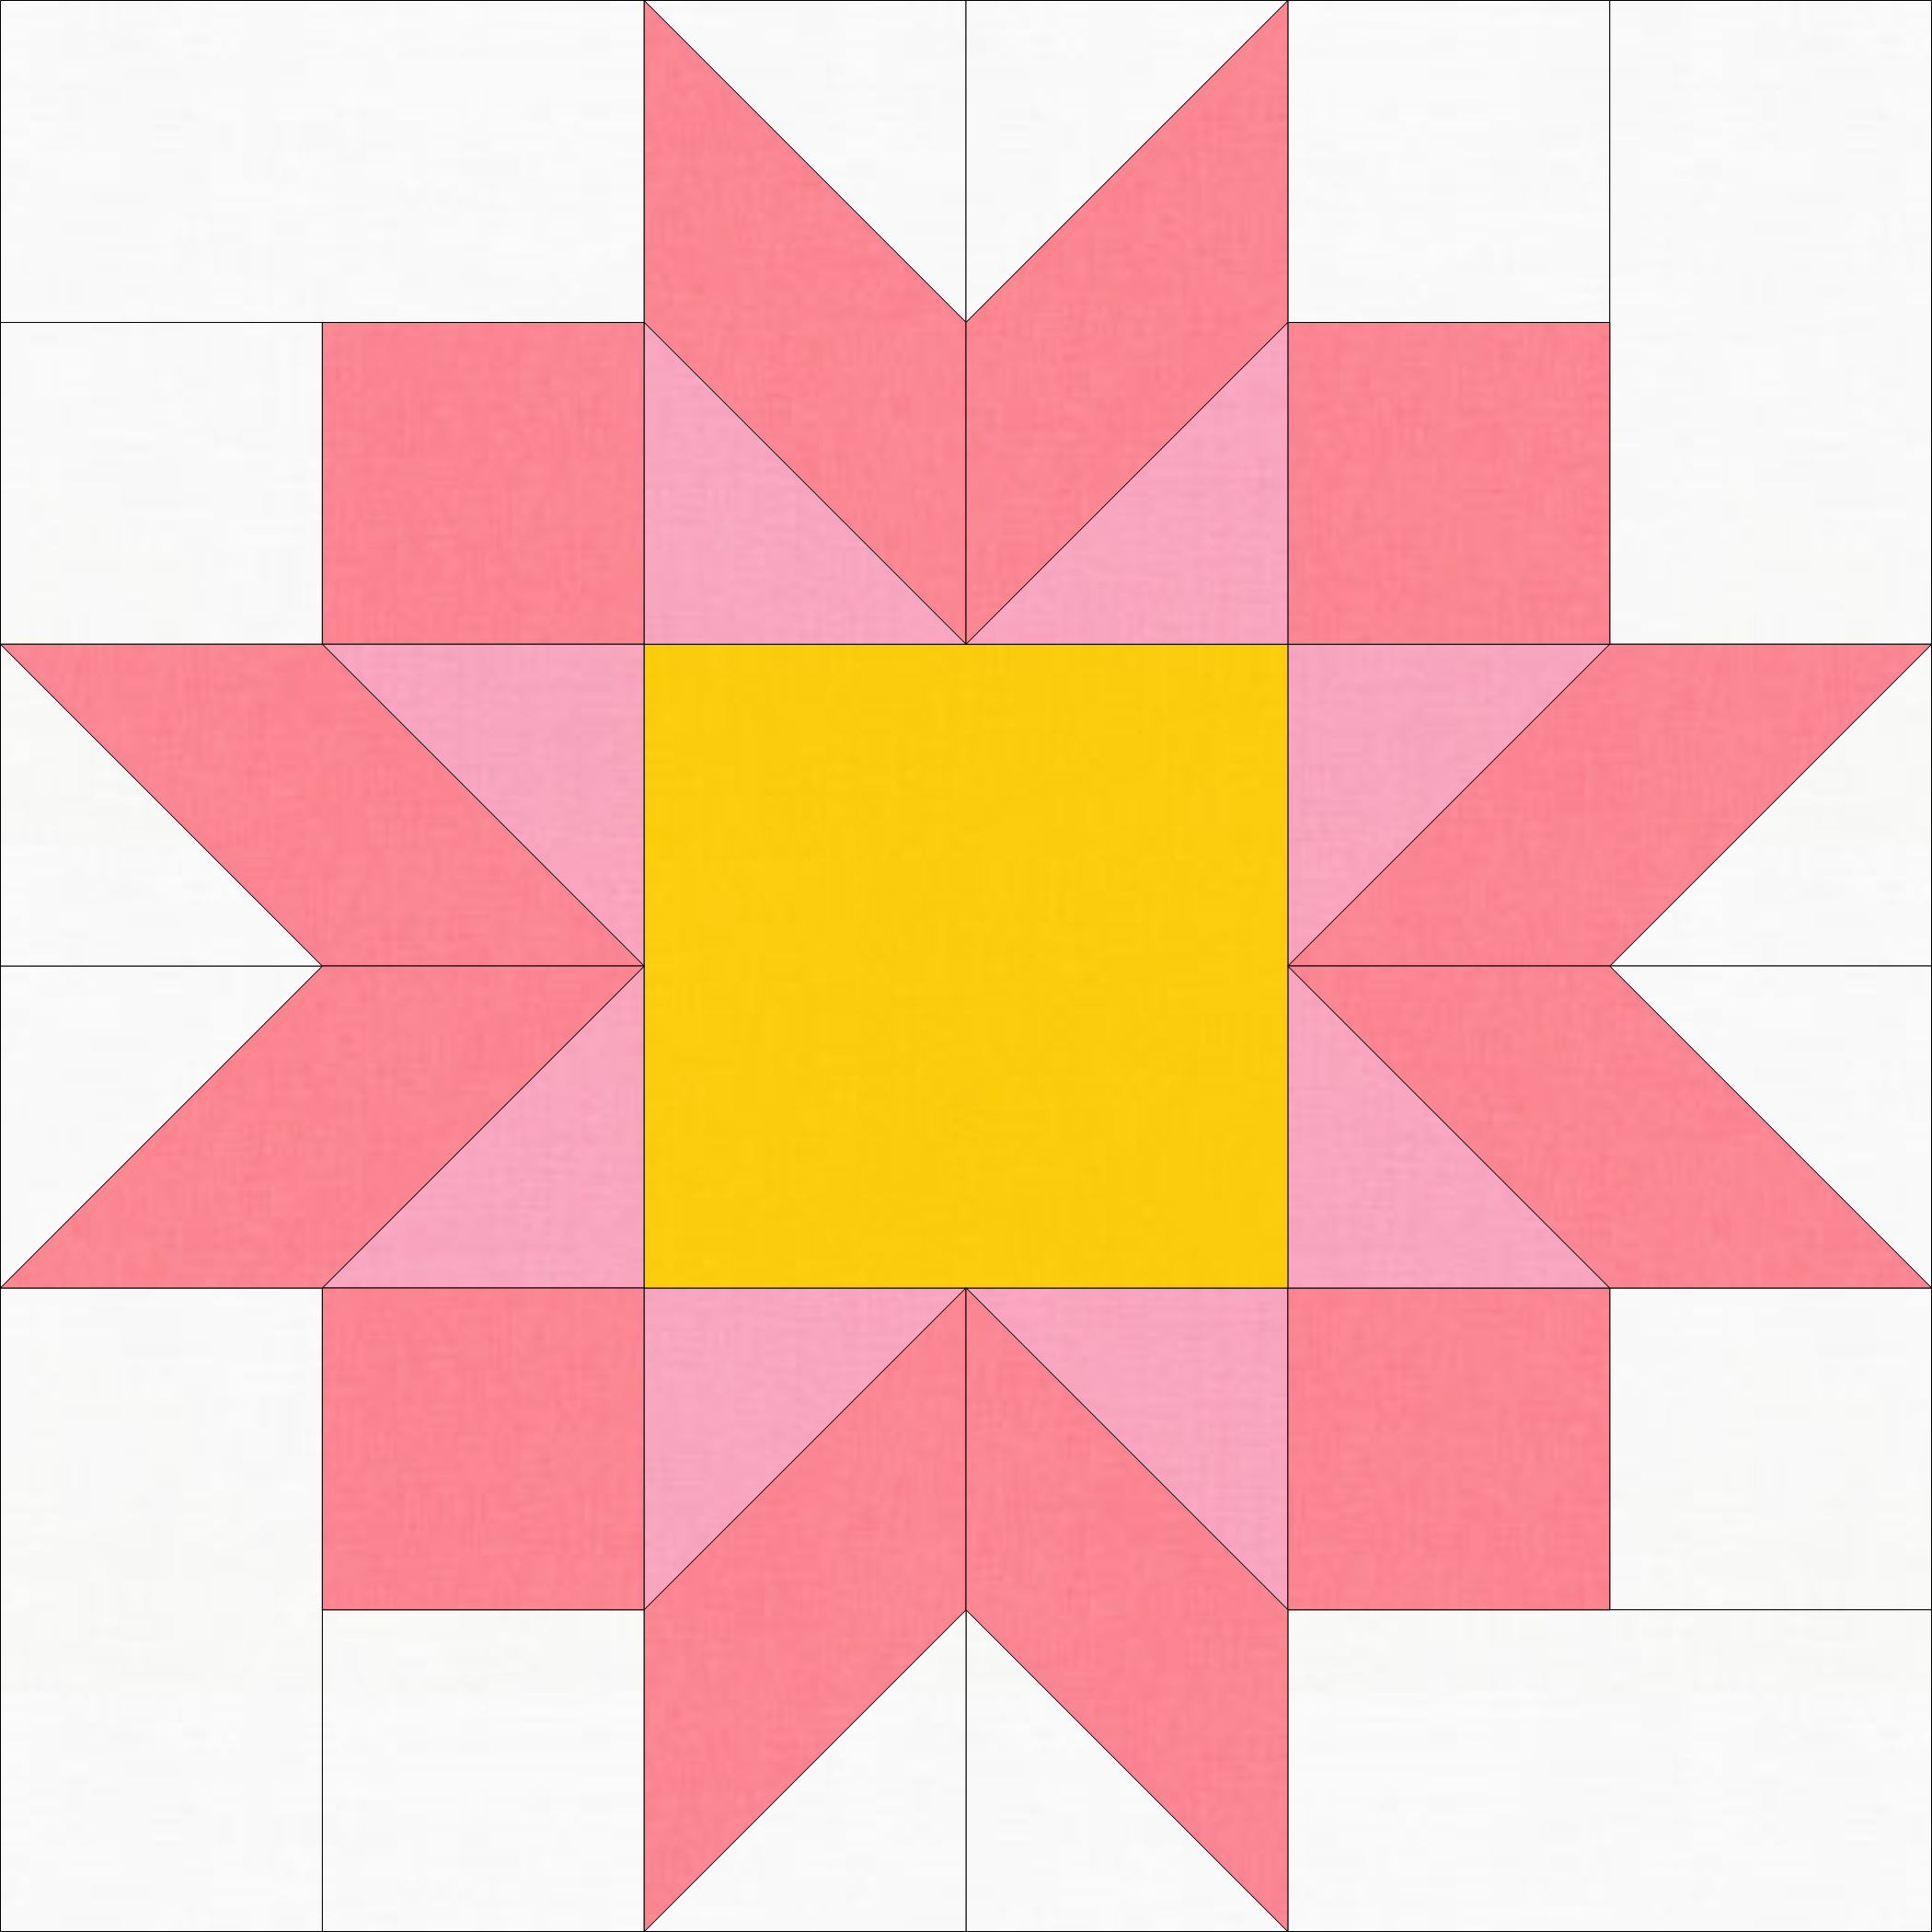
Petals is a Block Of The Month sampler quilt that has been exclusively designed to use with the Accuquilt GO! QUBE Mix & Match block sets. The great thing about the GO! QUBE Mix & Match sets is that while I’m using the 8” Block set and 8” Angles Companion set for my pattern sample, you could just as easily use any size QUBE that you have as the shape numbers are all the same! You will just need to adjust the size of your fabric cuts accordingly.
What makes the Petals BOM different from the two previous sampler quilts shared on the AccuQuilt blog is that these blocks are made at 150% the Qube size. That means that the finished quilt block will be 150% bigger than the size of the Qube set:
- 6” Qube – 9” (finished) blocks – 45” x 45” quilt
- 8” Qube – 12” (finished) blocks – 60” x 60” quilt
- 9” Qube – 13.5” (finished) blocks – 67.5” x 67.5” quilt
- 10” Qube – 15” (finished) blocks – 75” x 75” quilt
- 12” Qube – 18” (finished) blocks – 90” x 90” quilt
I am making my quilt from a scrappy variety of Liberty fabrics within a specific colour palette. I recommend choosing about 10-12 fat quarters for your quilt top; you will need three prints per block. If you would like the centres of each block to be the same fabric, you will need 30cm of one print.
Quilt finishes at 60” x 60”; individual blocks should measure 12.5” x 12.5”.Materials:
- AccuQuilt GO! Big, GO! Cutter or GO! Baby Cutter Fabric Starter Set
- AQ55776 GO! QUBE Mix & Match – 8” Block set
- AQ55789 GO! QUBE Mix & Match – 8” Companion set – Angles
- AQ55137 GO! Cutting Mat 6 x 6
- 10-12 fat quarters
- 3m background fabric
- 40cm binding fabric
- 1.65m x 1.65m backing fabric
- 1.6m x 1.6m batting
- Rotary mat, cutter and ruler
- General sewing equipment
Block 9 Materials:
- Shape 1 Square – 4” Finished
- Shape 2 Square – 2” Finished
- Shape 5 Half Square Triangle – 2” Finished
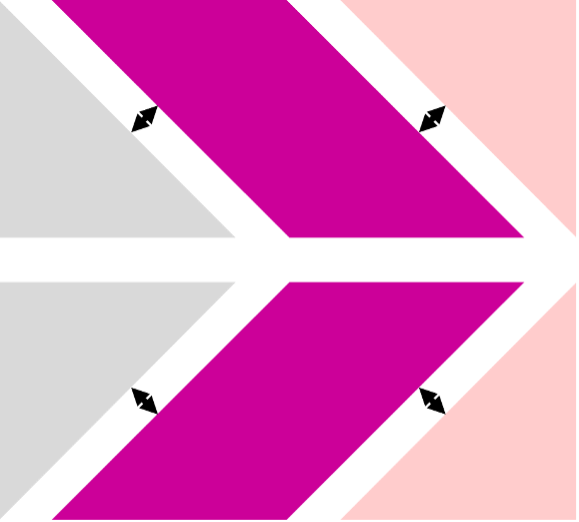
- Shape 7 Parallelogram – 2 1/16” x 2 3/16” Finished
- Shape 8 Rectangle – 2” x 4” finished
- 3 fat quarters
- 10” x WOF background fabric
Cutting Instructions:
- From print fat quarters:
- Cut one 5” x 5” square
- Using Shape 1, cut one Large Square
- Cut one 5 ½” x 5 ½” square
- Using Shape 2, cut four Small Squares
- Cut two 3” x 7 ½” strips
- Using Shape 5, cut eight Half Square Triangles (HST)
- Cut four 5 ½” x 5 ¾” rectangles
- Using Shape 7, fanfold and cut eight Parallelograms
- Cut one 5” x 5” square
- From background fabric:
- Cut one 5 ½” x 5 ½” square
- Using Shape 2, cut four Small Squares
- Cut two 3” x 7 ½” strips
- Using Shape 5, cut eight Half Square Triangles (HST)
- Cut one 5” x 11” strip
- Using Shape 8, cut four Rectangles
- Cut one 5 ½” x 5 ½” square
Note: Keep all remaining fabric/shapes as you may be able to use it later in the quilt.
Sewing Instructions:
Note: All seams are ¼“, (6mm), unless otherwise specified
- Sew one print HST (shape 5) and one background HST (shape 5) to opposite edges of a print Parallelogram (shape 7). Press seams open. Make 4.

- Repeat Step 1 for the remaining Parallelograms to create mirror-image units. Sew the pairs together to create a V shape.
- Sew each print square (Shape 5) to each background square (Shape 5). Press the seams open.
- Sew a background rectangle (Shape 8) to each unit from step 2. Note the orientation on the diagram below.

