Beyond Basic Borders is a new series of how to elevate the quilting border to the next level. Whether you use the leftover fabric from your quilt top, or introduce some new colours, this is going to be fun!
To begin with, we will base the borders on using your GO! Qube Mix & Match sets although we will transition into other dies. Experimenting with colours and layouts, we will show you how simple design changes can alter the appearance of the block.
One of my favourite borders, the Chimney Stacks Border creates unique and individual designs, of which the possibilities seem endless!
Finished width size borders:- 4” Qube – 2” finished border
- 6” Qube – 3” finished border
- 8” Qube – 4” finished border
- 9” Qube – 4 ½” finished border
- 10” Qube – 5” finished border
- 12” Qube – 6” finished border
The length will depend on your quilt top.
Materials:
- AccuQuilt GO! Big or GO! Fabric Cutter
- Shape 5 from any GO! Mix & Match Qube
- Shape 8 from and GO! Mix & Match Qube
- Shape 9 from any GO! Mix & Match Qube
Cutting Instructions:
- Cut (1) Shape 5 – Half Square Triangle (HST) per unit.
- Cut (1) Shape 8 – Rectangle per unit
- Cut (1) Shape 9 – Chisel per unit*
*NOTE: – the chisel is a directional die, so be aware of the orientation you are after.
Pressing Instructions:
Pressing seams to one side or open is another discussion within itself, although the two general thoughts are:
Open Seams allow for a smoother flatter quilt top, which doesn’t allow fabric colour to appear through your quilt top.
Side Seam Pressing is faster, and the seam is usually pressed towards the darkest colour. It makes it easier when you want to ‘nest’ seams in place, giving a clean seam intersection.
My suggestion – try both and see what works for you! There are no Quilt Police here.
Sewing Insructions:
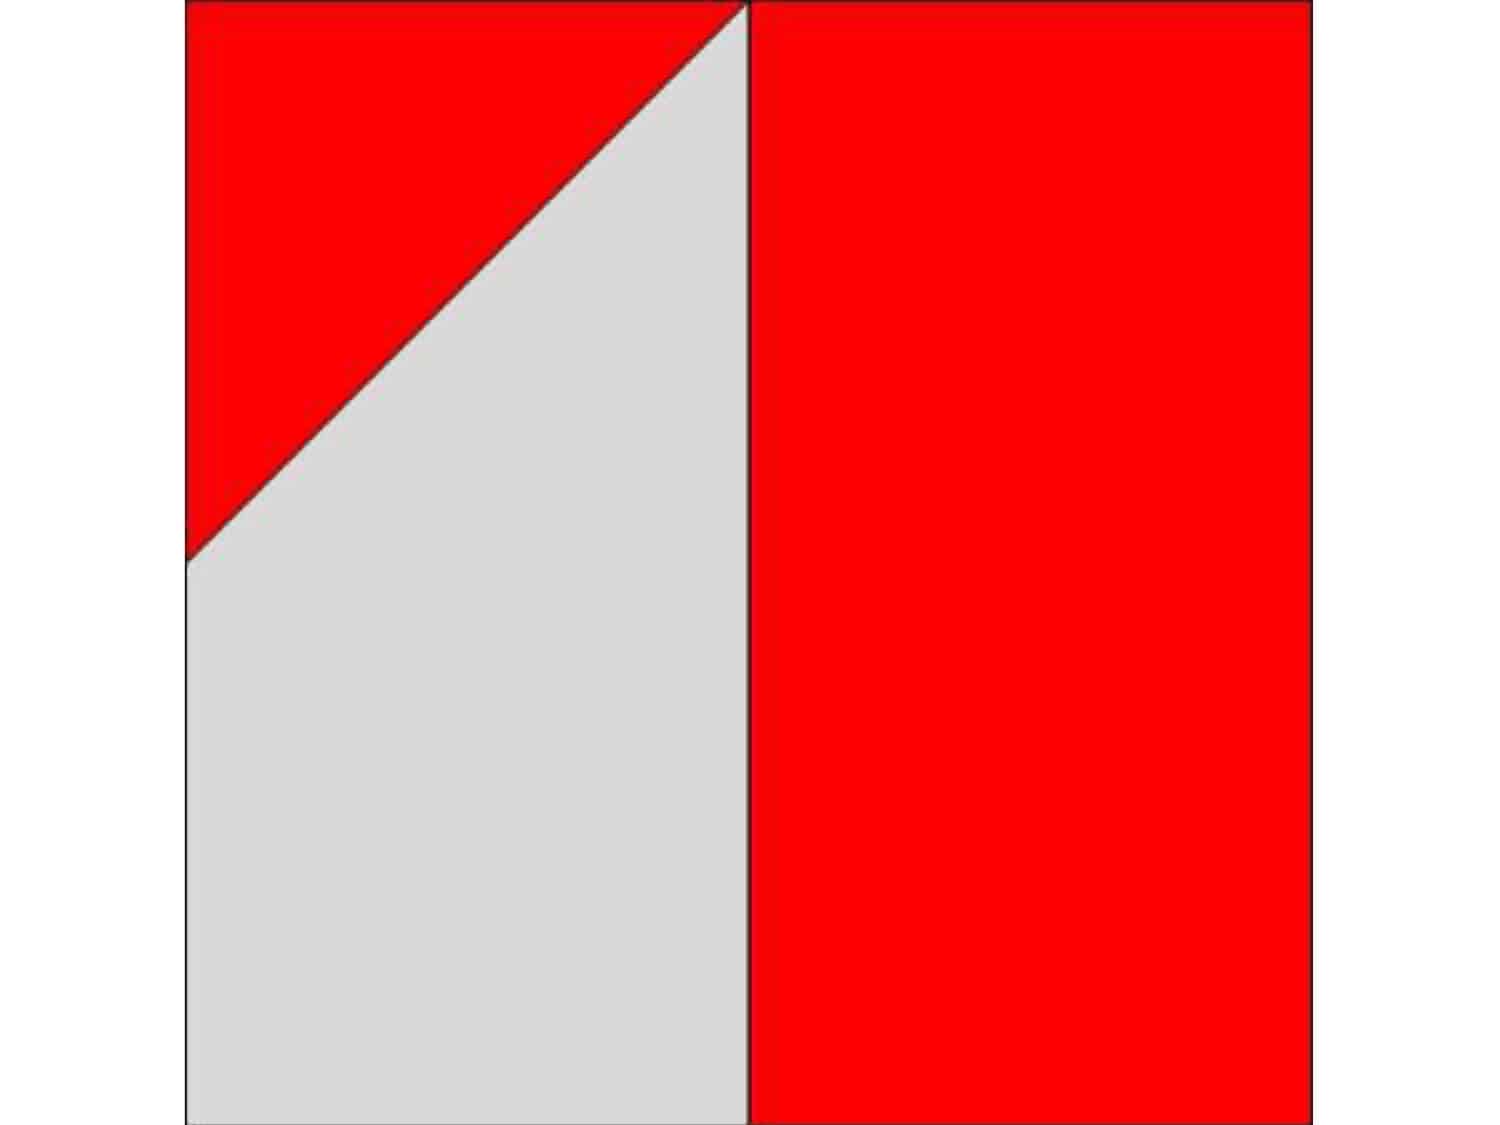
All seams are ¼” unless otherwise specified.- Sew one HST to one chisel to create a rectangle as shown below. Press
- Sew the two rectangle units together to create block below. Press

Finished Options:
Adding different colours, in different sequences can totally change the look and appearance of the design. Below is the original two-colour design, which in itself is stylish, although you can see, adding more colours can change the appearance. Scrappy happy also works well, although, adding a base colour can add stability to the border
original design

Alternating Blocks


Adding extra colours


This is just a few ideas, on how to use this simple block. There are many ways to elevate this simple quilt block, so be sure to experiment with many of the different ways this block can be used to create unique and interesting borders.
Don’t forget to share your projects and follow us on our Facebook page, AccuQuilt Australia or Instagram, tagging @accuquilt_australia and using the hashtag #accuquiltaustralia