This month I was looking for something fun and bright to make and share and found a “Twirl”, by Me and My Sister for Moda, layer cake in my stash and knew it was time to use it!
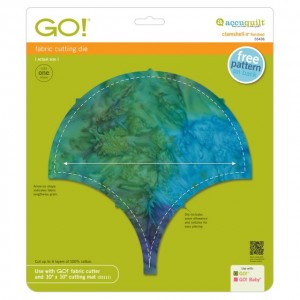
A layer cake is the perfect size for the Clamshell 8in finished GO! Die and I even managed to cut out 80, 3 ½ in half-square triangles and lots of ½in hexagons with the leftovers.
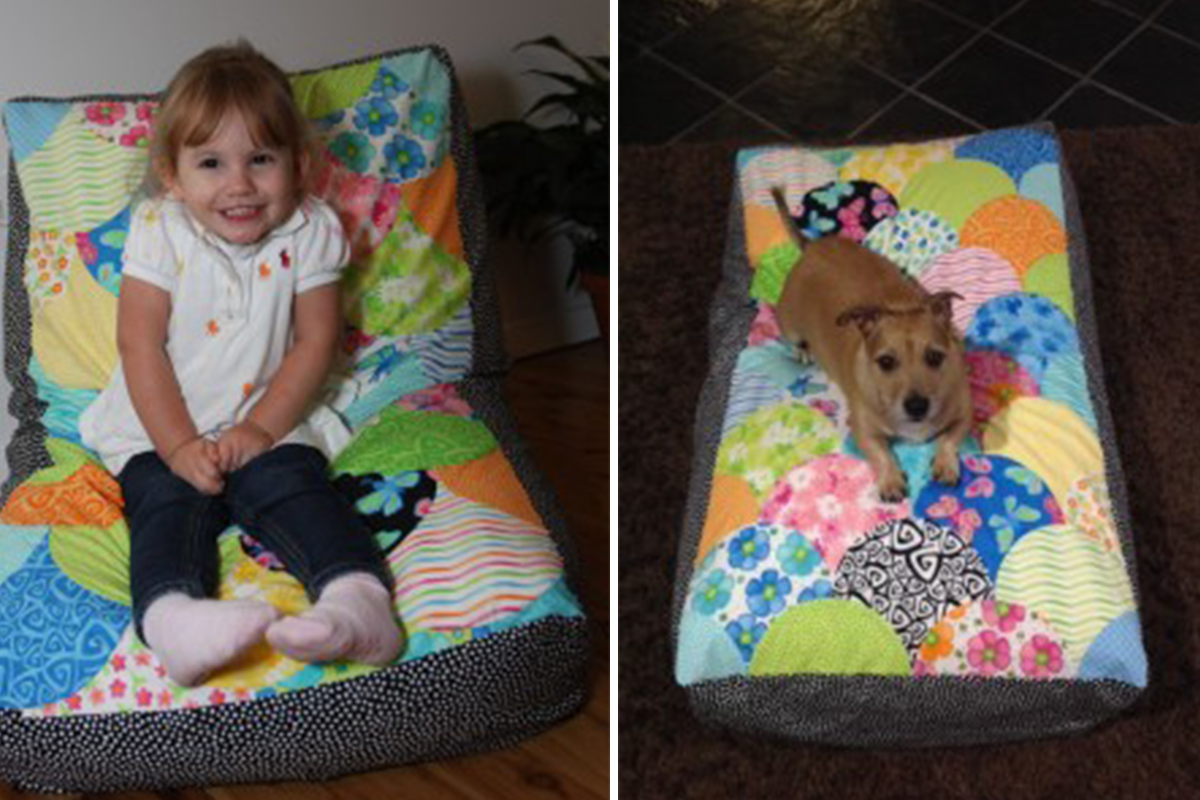
I wanted to make something for my friend’s little girl to use in their lounge room. It’s great for sitting in front of the TV, reading books, napping and of course for the occasionally doggie to steal.
2 m (2 ¼yd) black and white spot print for SIDES AND BACK
Cut two 10in x 24 ½in strips (short sides)
Cut two 10in x 40 ½in strips (long sides)
Cut two 24½in x 30in rectangles (back)
2.5m (2¾ yd) cream homespun for INNER BEAN BAG
Cut two 10in x 24 ½in strips (short sides)
Cut two 10in x 40 ½in strips (long sides)
Cut two 24½in x 30in rectangles (back)
30cm (12in) White Velcro
2 Bags of Bean Bag Beans
SEWING INSTRUCTIONS
For some tips on sewing curves head to: Craftsy.com
BEAN BAG FRONT
Layout the 39 Clamshells into 11 rows. The odd rows (1, 3, 5, 7, 9 & 11) should have four clamshells and the even rows should have three clamshells.
Place the first two clamshells in row one together with right sides facing. Stitch the two together 1in along the right-hand side of the clamshell using a ¼in seam. Press the seam open, then continue to add the next two clamshells in the same way.
The three clamshells in the second row will fit into the curves made by stitching row one together. Working with right sides facing, pin the first clamshell in place matching the sides notches together and the centre notch with the seam in row one. Sew using a ¼in seam easing the fabric as you go. Keep adding clamshells in row two in the same way.
Using the first clamshell in row three, pin the clamshell into the half curve at the beginning of the row, then stitch to the centre notch using a ¼in seam. Continue adding the second and third clamshells, then stitch the last clamshell to the centre notch to complete the row. NOTE: The excess fabric will be trimmed once completed.
Continue to stitch the eleven rows using this method to complete the bean bag front.
Square the completed bean bag front to 24½in x 40½in.
On the wrong side bean bag front mark a point at each corner ½in from both edges, using a fabric marker.
THE OUTER BAG
Mark the black and white spot print side strips in all four corners ½in from both edges.
Pin a 10½in x 24½in black and white strip to a 10½in x 40½in same colour strip with right sides facing and stitch along the short side between the marked points using a ½in seam and securing at both ends. Repeat for the remaining two strips.
Pin the sewn strips together at both ends with right sides facing and stitch along the short sides between the marked points as before.
Starting on the short side, pin the joined strips with right sides facing to the bean bag front. Stitch each side in place by matching the marked points and sewing a ½in seam between the points, securing as before. Continue adding the joined strip around the outer edges of the bean bag front. The seams on the strip sides will match up with the corner points of the bean bag front.
BEAN BAG BACK
Fold a double 1in hem along the short sides of both 24½in x 30in black and white spot print rectangles and topstitch to hold the hems in place. On one hemmed rectangle sew the 12in length of Velcro loop to the centre of the hemmed rectangle. Stitch the 12in length of Velcro hook to the centre of the wrong side of the second rectangle, so the Velcro will close when the two rectangles are overlapped. Do this now.
Lay the two overlapped rectangles on a flat surface and trim the combined rectangles to 24 ½in x 40 1/2in. Mark the four points on the wrong side at each corner ½in from both edges.
Pin the bean bag back to the stitched strips, matching the points, and starting on one short side as before. Sew between the marked points securing at each end, using a ½in seam. Continue adding the bean bag back until all seams are stitched to complete the outer bag.
Open the Velcro and turn the outer bag through.
INNER BAG
With the cream homespun short side strips and front and back rectangles, complete the inner bag using the same method as the outer bag. Make sure to leave an 8in gap in one edge to insert the bean bag beans.
Turn the bag through and add the bean bag beans through the open seam. Once filled to satisfaction, pin and stitch the opening closed to encase the beans.
FINISHING
Insert the inner bag into the outer bag through the Velcro opening.