Looking for a quick easy Christmas project?
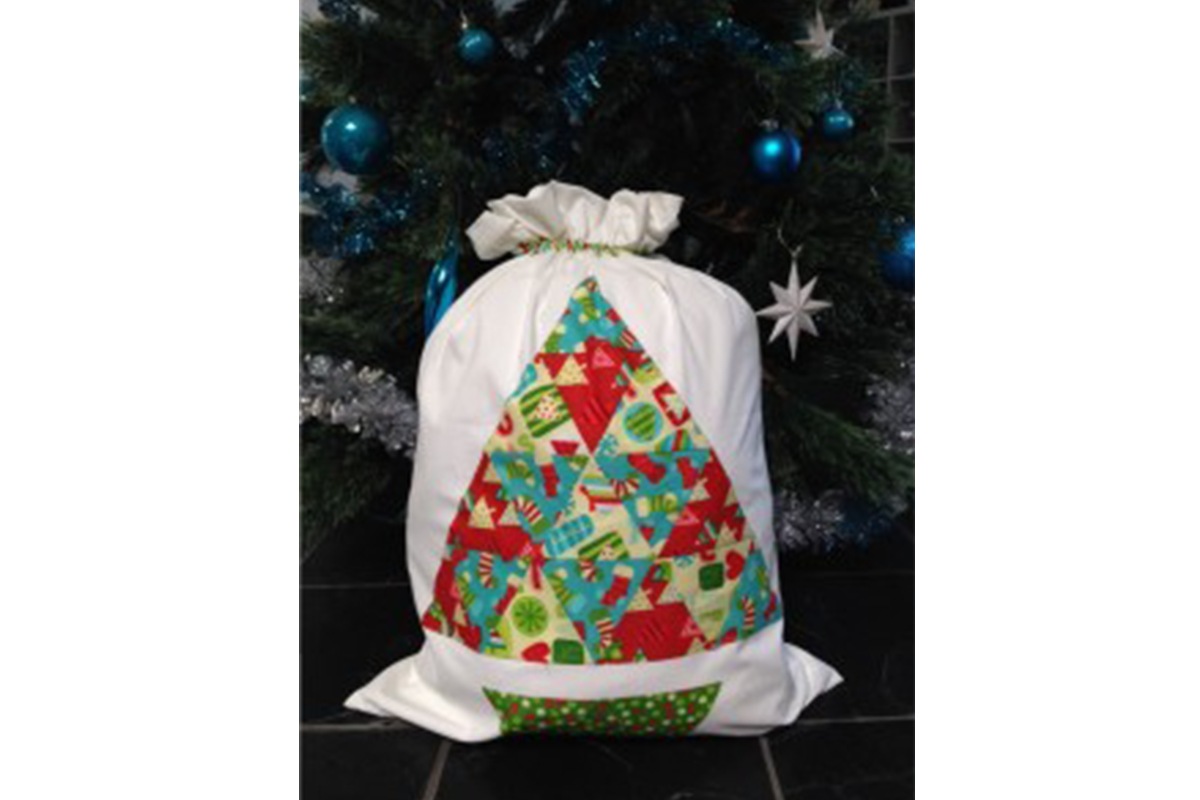
I’ve made this easy modern drawstring sack, bright enough for Santa to spot and fill with presents!!!
Materials:
- AQ55429 GO! Equilateral Triangle 4 ½in sides
- Assorted Christmas fabric scraps
- 6m (1 ¾ yard) white background fabric
- 4m (2 5/8 yard) white cord
Cutting Instructions:
- From the assorted Christmas fabric scraps
- Cut 19 triangles using AQ55429 GO! Equilateral Triangle
- From the white background fabric
- Cut two 80cm (7/8 yard) strips across the width of fabric
- From the one Christmas fabric
- Cut two 5cm (2 ½in) x 53cm (21in) strips
- From the white cord
- Cut two 1.2m (11/3 yard) length
Sewing Instructions:

- Using the photograph of the finished sack as a guide, layout 16 triangles into four rows for the tree and 3 triangles into one row for the pot.
- Stitch the triangles together into their rows along their long edges, matching the notches. Press the seams in alternating directions for each row.
- Stitch four rows of triangles together for the tree matching the seams. Press the seams open. Leave the pot row separate. Use a ruler and rotary cutter to trim the excess ¼in of fabric from the three sides of the tree and the four sides of the pot.
- Remove the selvedge edge from both of the white background strips. One is the outer Christmas sack and the other is the lining. Fold the outer Christmas sack in half, with wrong sides together, and position the tree and pot in place using the photograph as a guide.
- Use a small amount of applique glue under the points and edges to hold in place, then using matching thread and a small blanket stitch to secure the tree and pot. Alternatively use a decorative stitch and glitter thread.
- Press and stitch a ¼in hem on the short ends of each 2 ½in x 21in Christmas fabric strip. With the wrong side up, fold and press both long edges towards the centre of each strip to create a cord channel. Use spray starch to set the folds then set aside.
- With right sides together stitch a 5/8in seam down the open long side and across the bottom of the outer Christmas sack. Repeat for the lining leaving a 5in gap in the lower seam for turning.
- Turn the lining right side out and place inside the outer Christmas sack. Match the side seams, pin and stitch the two together around the upper edge. Turn the sack through the opening in the lining and stitch the opening closed.
- Press the Christmas sack well making sure to get the points crisp. Use matching thread to topstitch 1/8in from the top edge.
- Lay one pressed cord channel along the front of the Christmas sack 4in from the top edge using the photograph as a guide. Pin and stitch along the top and bottom of the cord channel, stitching through the cord channel, outer sack and lining fabric layers. Repeat for the back of the Christmas sack. There will be a gap on each side between the strips.
- Use a safety pin to thread one length of white cord through the front cord channel then straight into the back cord channel and then tie the ends together with a knot. Starting at the opposite side and using the second length of white cord, thread through the front cord channel and the back channel and tie the ends as before.
- You should have a tied end at each side of the sack. When these ends are pulled the top of the sack will close.