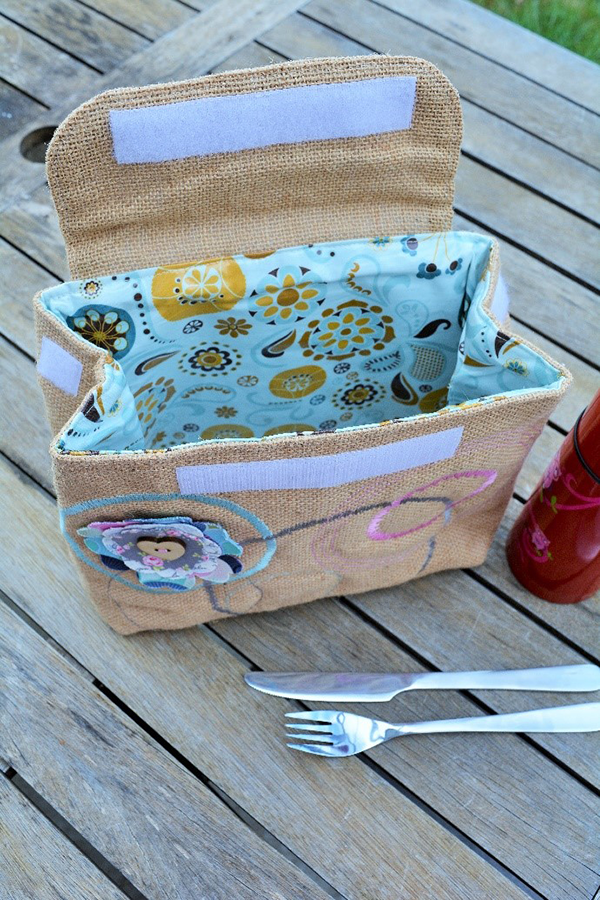
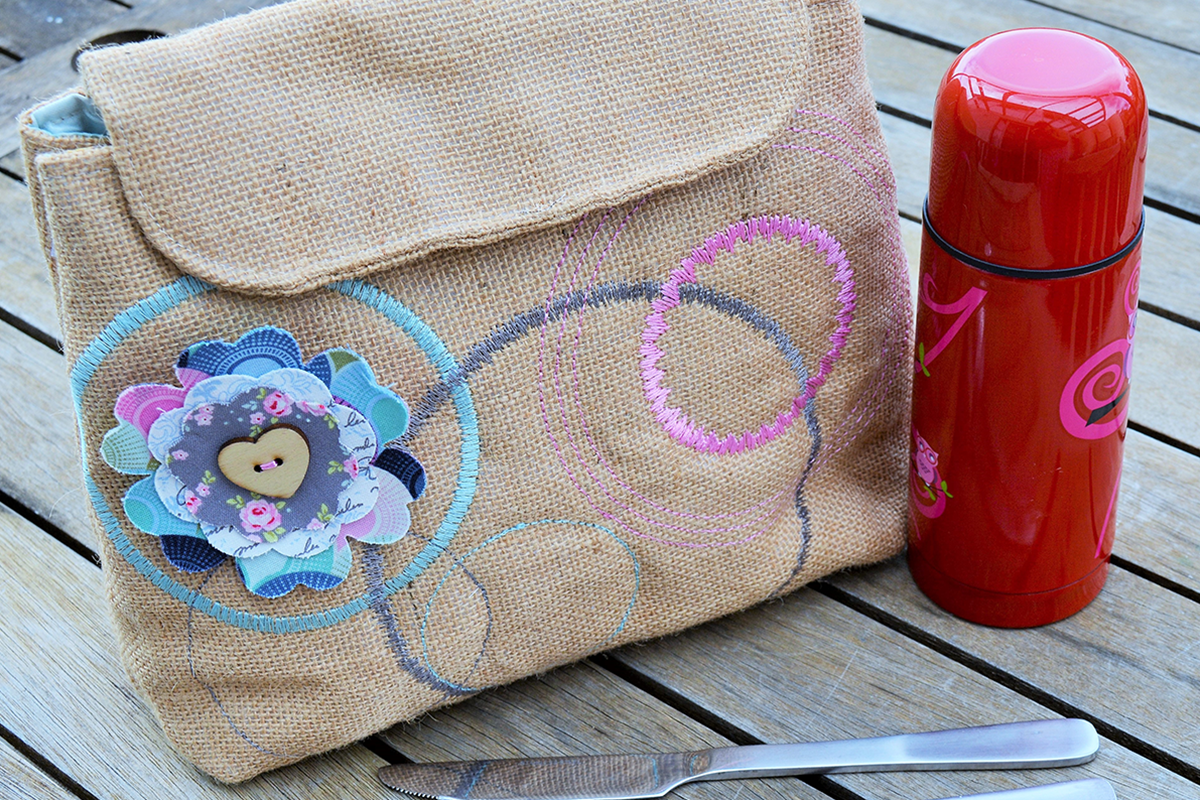
Keep your lunch nice and cool with this practical, yet chic Insulated Lunch Bag! A gorgeous 3D flower adds a pop of colour and style. Plus it is lined with laminated fabric so it’s easy to wipe clean!
Materials
- AccuQuilt GO! Big, GO! Cutter or GO! Baby
- AQ55007 GO! Round Flower
- AQ55045 GO! Rose of Sharon by Sharon Pederson
- AQ55137 GO! Cutting Mat 6” x 6”
- 30cm / 11 inches laminated cotton fabric
- 30cm / 11 inches hessian fabric
- 30cm / 11 inches Insul-Bright
- 30cm / 11 inches tear away
- (1) 5 inch & (2) 1 inch strips of Velcro
- 1 x wooden button
- (2) 10cm / 5 inch squares of (3) different fabrics – to be used for free standing flowers.
- (3) 10cm / 5 inch squares of fusible web
Cutting Instructions:
- Hessian
- Cut (2) rectangles 11” x 14”
- Cut (2) rectangles 5” x 9”
- Insul-Bright
- Cut (2) rectangles 11” x 14”
- Cut (1) rectangle 5” x 9”
- Laminated Cotton
- Cut (2) rectangles 11” x 14”
- Tearaway
- Cut (2) rectangles 11” x 14”
- Using the fabric for the flowers, lay (1) fabric square face down on your ironing board. Iron a square of fusible web on top and then remove the paper backing. Place a second fabric square over the top and iron together. Repeat to create (3) fused squares.
- Using AQ55007 GO! Round Flower Die, cut out (1) of the flowers (this is the largest of the 3D flower).
- Using AQ55045 GO! Rose of Sharon Die, cut (1) of the middle size flowers and (1) of the smaller size flowers.
- Using the 5″ x 9″ hessian and Insul-Bright rectangles, cut the flap template
Sewing Instructions:
- Build a “sandwich” by layering the following 11” x 14” rectangles in this order: tearaway, Insul-Bright and then hessian. Pin in place and repeat.
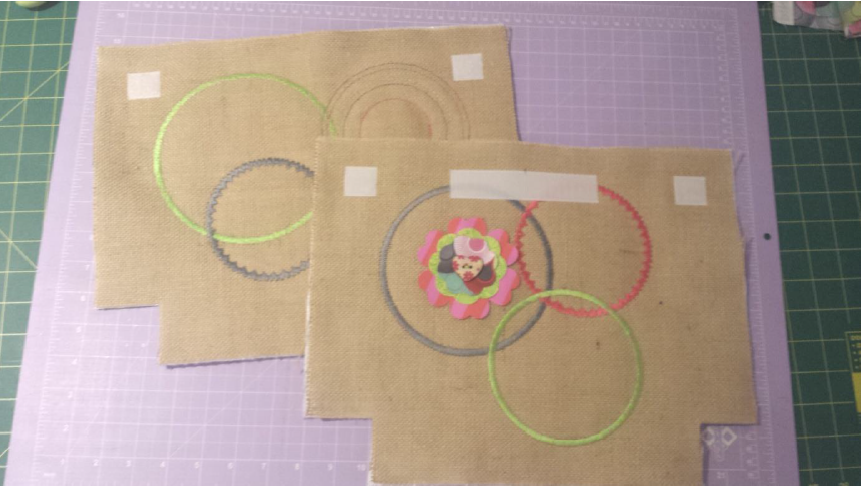
- Using decorative stitches on your sewing machine, decorate the front and back of your lunch bag. I used the Husqvarna Viking Circular Attachment, part number H9203440-96 to create perfect circular designs! Alternately, you can also use the PFAFF Circular Attachment, part number P8210260-96

- Pick one of the 14” edges for the top of your lunch bag. Using marking chalk, find the centre and measure down 1”. Using double sided tape, place the hook side of the 5” strip of Velcro in the centre (1” down from the top).
- Now position the hook sides of the 1” Velcro squares, 1” in from either side and 1” down. Repeat this step on the back rectangle, with the loop side of the 1” Velcro. (This will be used for closing sides of your lunch bag.) Trim the opposite long side by removing a 2” square from the corners: Refer to the picture to the right.
- Straight stitch around all pieces of the Velcro.


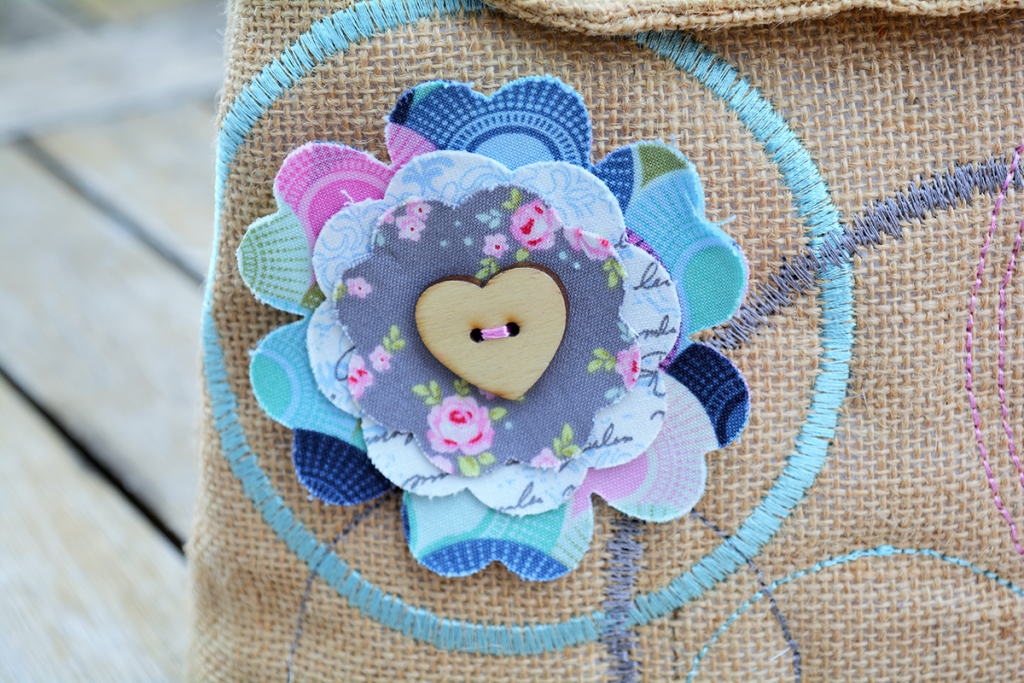
- Layer the (3) different sized flowers on top of each other and sew onto the front panel of the bag with a wooden button to secure.
- Take one of the hessian flap pieces, position the loop side of the 5″ Velcro strip and central 1″ above the long curved side. Straight stitch around the Velcro.
- Sew the flap together by layering the Insul-Bright, the hessian piece, followed by the second hessian piece with Velcro attached, right sides together. Using the foot width as your seam allowance, sew around the sides and bottom curve section, leaving the top unsewn.
- Turn the flap the right way out and top-stitch around the sewn sides
- Place the front and back of the lunch bag, right sides together and pin. Using the foot width as your seam allowance, sew down the two sides and along the bottom. Do not sew the 2” corner seams!
- Repeat step 10 with the laminated cotton fabric, however leave a 4″ gap in the centre of one side seam.
- Pull the bottom corners open to create the base, pin the side seam open and stitch across. Repeat on the other 3 corners.
- Find the centre back of your lunch bag and pin. Find the centre of the flap and place inside the lunch bag with the Velcro side facing out. Align and sew into place.
- Turn the lining the right way out and place inside the hessian, match up the side seams and pin together. Sew completely around the top of the lunch bag.
- Using the hole you left in the lining, turn your lunch bag the right way out! Sew up the hole and finish off by top stitching around the top to hold down the lining.
