Modified by Debbie Lomas, Originally by Accuquilt.
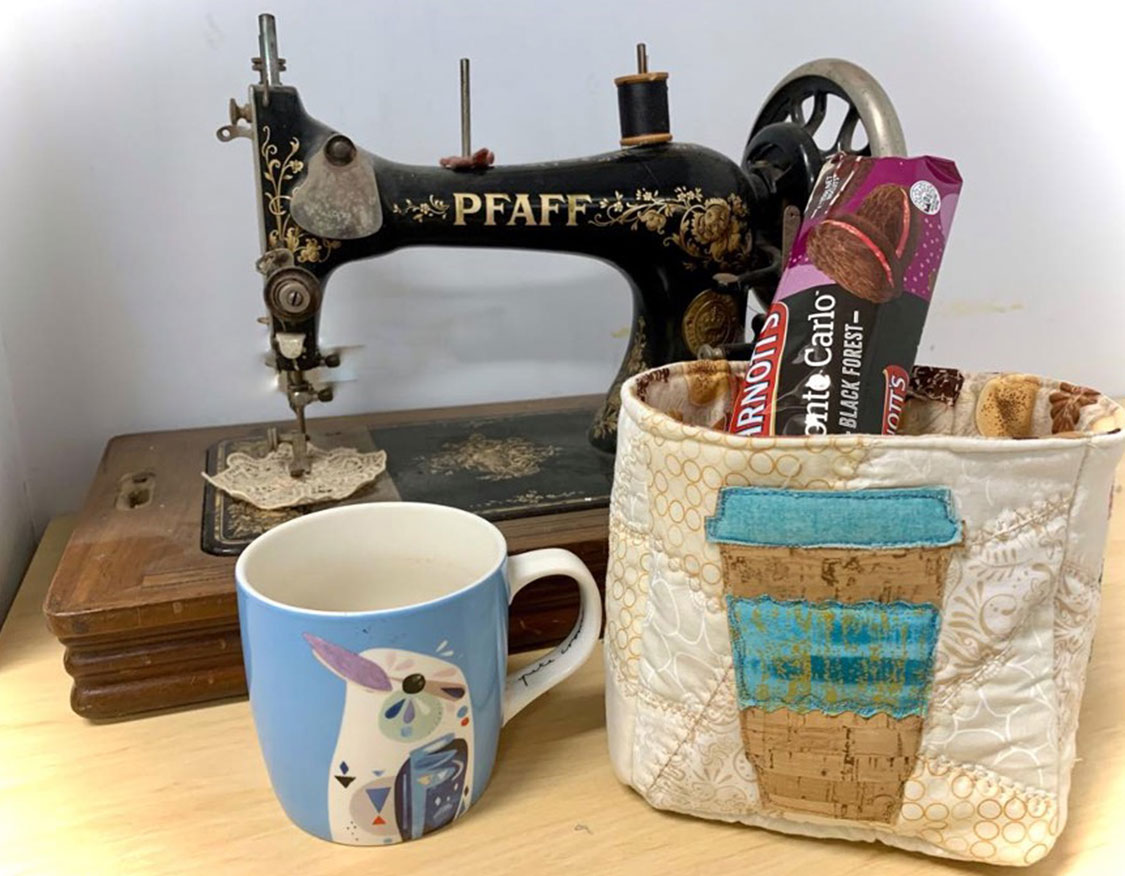
Baskets never go astray with quilters, whether it is for general quilting tools, nick-nacks or snacks. Decorate this basket with your favourite applique to personalise for each item or make this quick easy gift for your favourite person.
Materials:
- AccuQuilt GO! Big or GO! Fabric Cutter
- AQ55212 GO! Coffee & Tea Medley
- AQ55226 GO! Crazy Quilt – 6” Finished.
- AQ55000 GO! Square – 6 ½” (6” Finished)
- AQ55111 GO! Cutting Mat- 10” x 10”
- AQ55112 GO! Cutting Mat 6” x 12”
- 15cm x 40cm Cork fabric for Coffee To-go Cups with fusible web applied to wrong side of fabric.
- 8 Coordinating colour fabric with fusible web applied to wrong side of fabric for Lid and Sleeves.
- 20cm x 20cm of 5 coordinating neutral fabrics for Crazy Patch blocks
- 20cm of lining fabric
- (5) 20cm x 20cm of iron on wadding/fleece
- (5) 20cm x 20cm tearaway
- Embroidery threads to match all fabrics
- Bobbinfil
- Sewing thread to match
- General sewing tools
- Rotary mat, cutter and ruler
Cutting Instructions:
- From cork fabric
- Using AQ55212 GO! Coffee & Tea Medley die
- Cut (4) Coffee To-go Cups
- Using AQ55212 GO! Coffee & Tea Medley die
- From coloured fabrics:
- Using AQ55212 GO! Coffee & Tea medley die
- Cut (4) Lids
- Cut (4) Sleeves.
- Using AQ55212 GO! Coffee & Tea medley die
- From neutral fabrics:
- Using AQ55226 GO! Crazy Quilt die
- Layer the 5 fabric with right side up*. Cut die shapes.
- Using AQ55226 GO! Crazy Quilt die
- From lining fabric:
- Using AQ55000 GO! Square:
- Cut (5) squares.
- Using AQ55000 GO! Square:
Sewing Instructions:
GO! Crazy Quilt – 6” Finished- Follow the below steps to complete one crazy quilt block. Each block will use one print twice. Shuffle the fabrics around to mix the fabrics and avoid having matching fabric alongside each other.

- Repeat the steps to complete 5 blocks in total.
- Following the manufacturer’s instructions, iron the fleece to the back of the completed quilt blocks.
- Place the tearaway at the back of the block. Thread machine with embroidery thread and bobbinfil. Using (1) Crazy Quilt block, select a decorative stitch on your machine and stitch on each seam line. Change decorative stitches with every seam. This is a great way to experiment with all the decorative stitches on your machine.

- Repeat for all blocks.
- Remove the paper backing from all the appliques shapes.
- Download the free GO! Coffee & Tea Medley Embroidery Designs here
- Using (1) block, centre in your hoop.
- As per your machine instructions, use the embroidery deign to embroidery (1) Coffee To-go Cup.
- Repeat the process for the (3) other blocks, using the different stitch techniques of satin, blanket and motif.
- Following manufacturer’s instructions, and with an applique mat, iron in place. Repeat for a total of (4) blocks. (The last block is the base of the basket and does not need an qpplique.
- Applique around the shapes using the same or different Using (1) Cup To-go, (1) Sleeve and (1) Lid, align to centre of (1) block. stitches.
HINT: I used four different applique stitches and techniques. Satin stitch, motif stitch, blanket stitch, and raw edge applique to add interest to the basket.

- Trim all blocks to 6 ½” (or slightly smaller if the blocks have been ‘pulled in’ with the stitching). Trim lining to match.
- With right sides together, stitch four applique blocks together to create a tube as shown in below/li>

- Using the last Crazy Quilt block, the base, pin it to the bottom open end of the tube, right sides together, lining the edges with each side piece of the tube. Stitch along one side of base, stopping ¼” from edge of fabric. Take a couple of stitches back and forth. Lift presser foot ¼” away from edge and pivot to the next edge of the base. Again take a few stitches back and forth to reinforce the corner.

- Repeat the process with the 5 lining pieces to create the lining except leave a gap of approximately 4” in bottom seam. This will be used for turning the basket.
- Arrange the basket so the right side is facing in. Turn the lining so the right side is facing out. Place the lining inside the basket, right sides together as shown in picture 8. Pin matching seams.

- Stitch completely around the top edge, overlapping the stitch ends.
- Turn the basket inside out, through the opening in the lining base. Stitch lining closed.
- Line up the top edge of the lining along the basket, pining in place. Top stitch along the edge to secure. See picture 9
